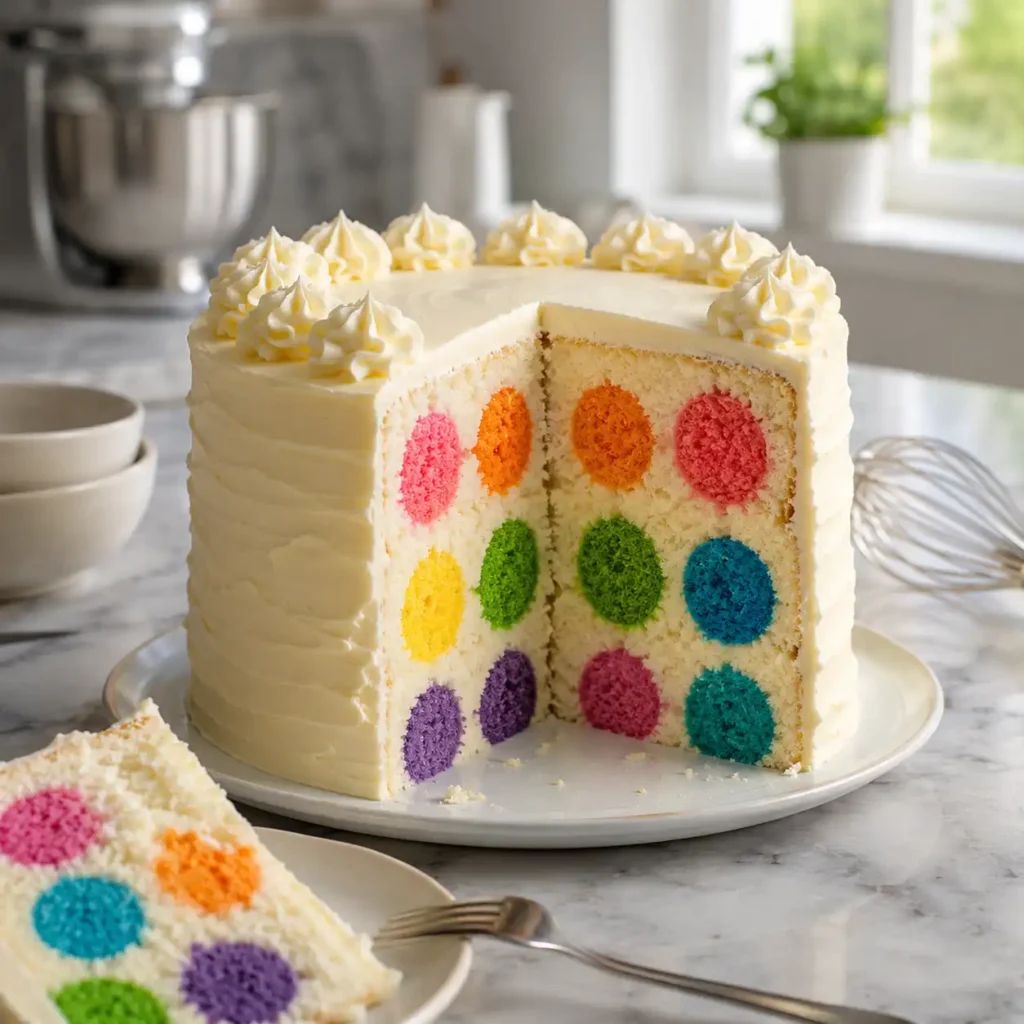
Creating a beautiful dessert shouldn’t feel like a chore. This dot cake recipe brings joy back to the kitchen with its playful pattern and delicious flavor. Whether you are preparing for a child’s birthday party or simply want to surprise your friends at a weekend gathering, this cake delivers a “wow” factor that looks professional but stays simple to execute. Let’s look at how you can create this whimsical treat in your own home with easy-to-follow steps.
Table of Contents
What Exactly is a Dot Cake?
The Surprise Inside the Slice
A dot cake, often called a polka dot cake, is a dessert that hides colorful spheres of cake inside a contrasting base batter. When you slice into the cake, perfect circles appear, creating a fun pattern that delights guests of all ages. This dot cake recipe relies on a two-stage baking process where you first create the “dots” and then bake them into the main body of the cake. It is a creative way to play with colors and flavors without needing advanced decorating skills or expensive tools from a specialty shop.
Why This Cake is a Crowd Favorite
The visual appeal of this dot cake recipe makes it a standout at any dessert table. Beyond its looks, the texture is soft and moist, providing a classic vanilla or chocolate base that everyone loves. Because you can customize the colors of the dots, it fits any theme, from holiday red and green to bright neon shades for a summer bash. It is a versatile project that allows you to be as creative as you want while following a reliable baking foundation that produces consistent results every single time.
Print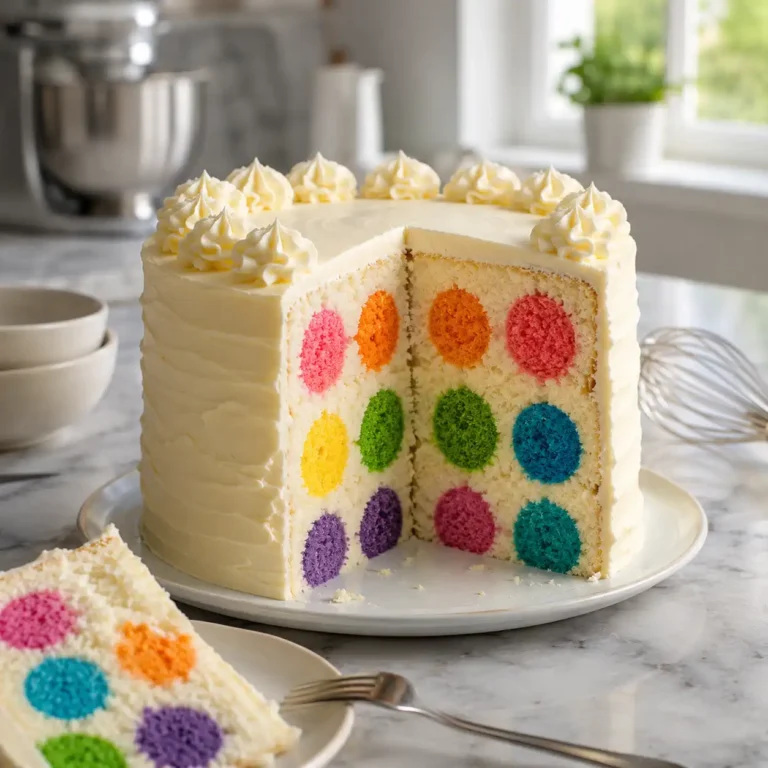
The Ultimate Dot Cake Recipe: A Fun and Colorful Baking Adventure
A playful and whimsical vanilla-based cake featuring colorful spheres of cake hidden inside. When sliced, it reveals a beautiful polka dot pattern that is perfect for celebrations.
- Total Time: 1 hour 35 minutes
- Yield: 12 servings 1x
Ingredients
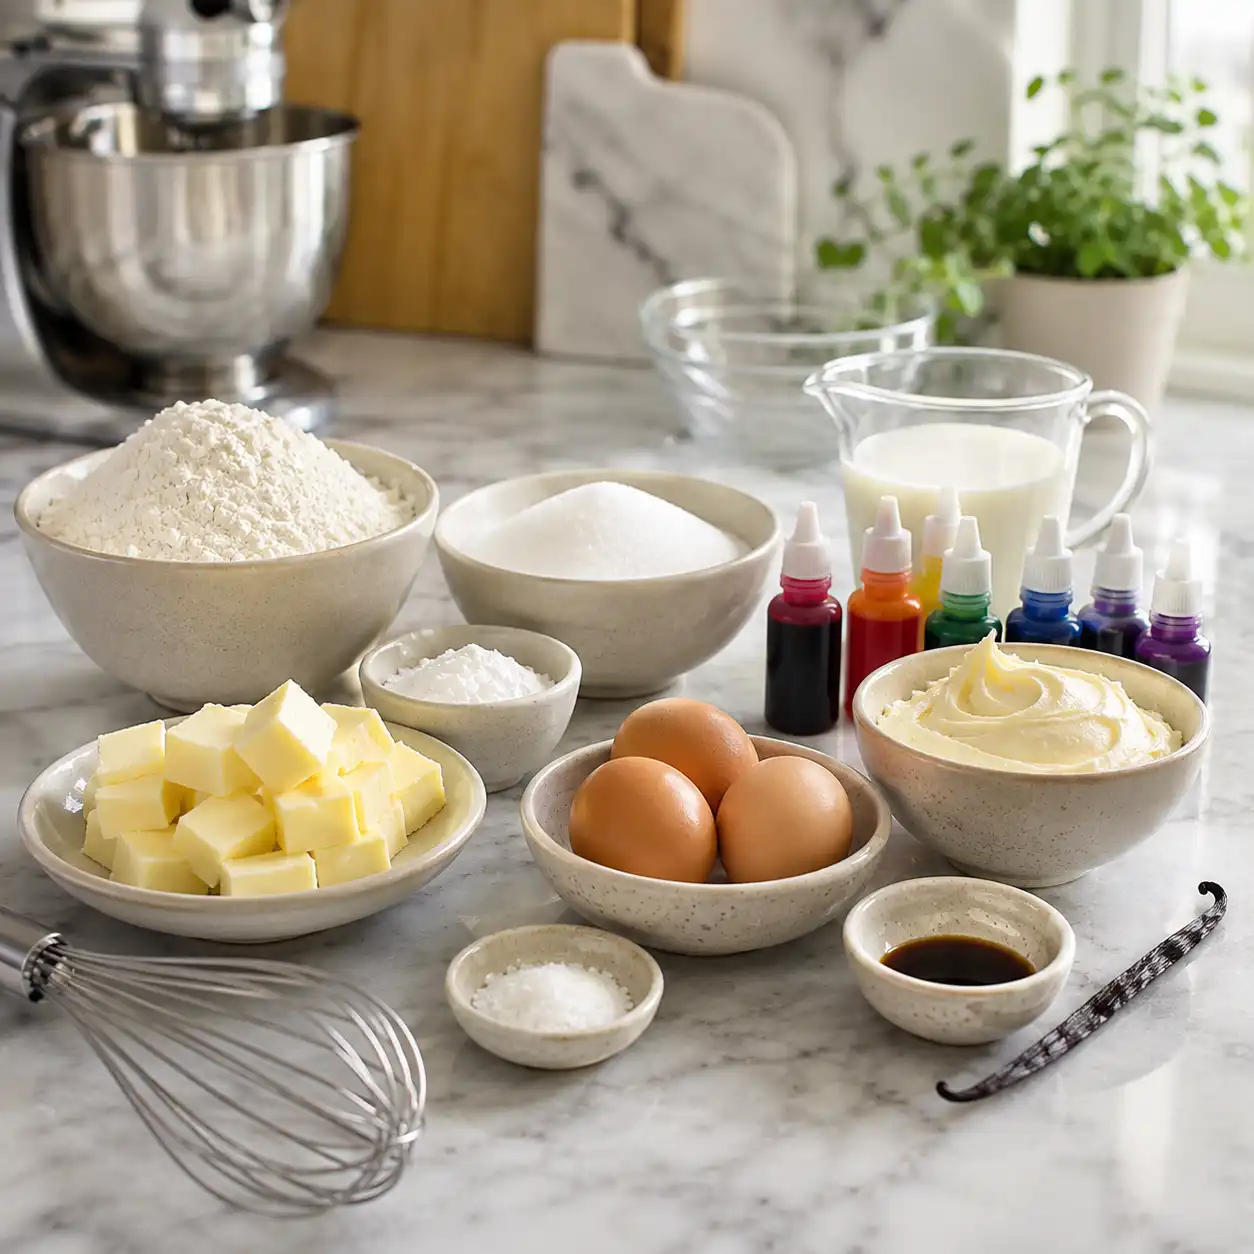
- 2 1/2 cups all-purpose flour
- 1 1/2 cups granulated sugar
- 1 tablespoon baking powder
- 1/2 teaspoon salt
- 3/4 cup unsalted butter, softened
- 1 cup whole milk
- 2 large eggs
- 2 teaspoons vanilla extract
- Assorted gel food coloring
- 2 cups vanilla buttercream frosting
Instructions
- Step 1: Mix Batter – Combine flour, sugar, baking powder, salt, butter, milk, eggs, and vanilla until smooth.
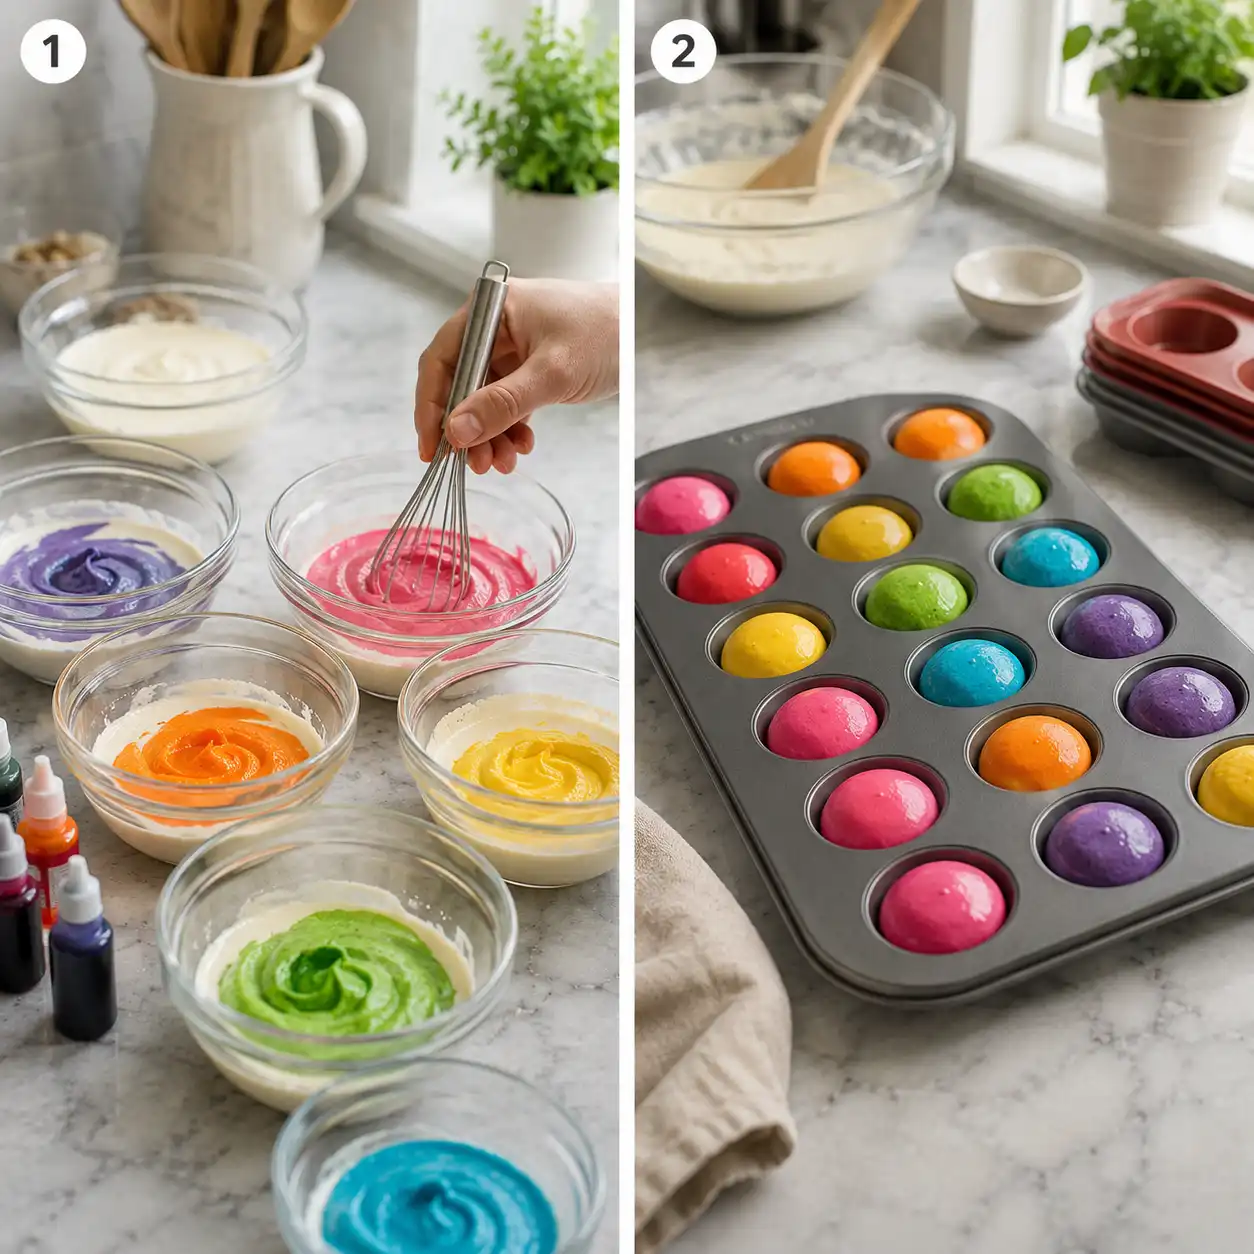
- Step 2: Color Portions – Divide 1/3 of the batter into small bowls and stir in different food colors.
- Step 3: Bake Dots – Fill a cake pop pan with the colored batter and bake at 350°F for 15 minutes.
- Step 4: Cool Spheres – Remove the colored cake dots from the pan and let them cool completely on a wire rack.
- Step 5: Prepare Base – Pour a thin layer of the remaining plain batter into a greased 9-inch cake pan.
- Step 6: Arrange Dots – Place the cooled colored spheres into the batter layer in a playful pattern.
- Step 7: Cover Spheres – Gently pour the remaining plain batter over the dots until they are fully submerged.
- Step 8: Final Bake – Bake for 30-35 minutes or until a toothpick inserted in the center comes out clean.
- Step 9: Frost and Serve – Once cooled, cover with buttercream frosting and slice to reveal the hidden surprise.
Notes
Ensure the cake dots are completely cool before placing them in the main batter to prevent them from melting or bleeding color.
- Prep Time: 45 minutes
- Cook Time: 50 minutes
- Category: Dessert
- Method: Baking
- Cuisine: American
- Diet: Vegetarian
Nutrition
- Serving Size: 1 slice
- Calories: 385 kcal
- Sugar: 34g
- Sodium: 210mg
- Fat: 18g
- Saturated Fat: 11g
- Unsaturated Fat: 5g
- Trans Fat: 0.5g
- Carbohydrates: 52g
- Fiber: 1g
- Protein: 5g
- Cholesterol: 70mg
Essential Ingredients for Your Dot Cake Recipe
Choosing the Right Flour and Leavening
For a tender crumb, the type of flour you use makes a significant difference. Many bakers prefer cake flour because it has a lower protein content than all-purpose flour, resulting in a lighter and more delicate texture. When you follow this dot cake recipe, you want the base to be sturdy enough to hold the weight of the pre-baked dots but soft enough to melt in your mouth. According to the experts at King Arthur Baking, using the correct flour helps prevent the cake from becoming too dense or tough during the double-bake process.
Fats, Moisture, and Flavorings
Unsalted butter provides the best flavor and allows you to control the salt levels in your batter. Make sure your butter and eggs are at room temperature to help them incorporate smoothly into the sugar. This creates an emulsion that traps air, leading to a better rise. For the liquid component, whole milk or buttermilk adds a rich tang and moisture. Since we are avoiding alcohol-based extracts, you can use vanilla bean paste or imitation vanilla to give your dot cake recipe that classic, aromatic sweetness that defines a high-quality homemade cake.
Step-by-Step Dot Cake Recipe Instructions
Preparation and Baking the Cake Spheres
- Step 1: Prep the Dot Batter – Mix a standard white cake batter and divide it into small bowls to add your favorite food coloring.
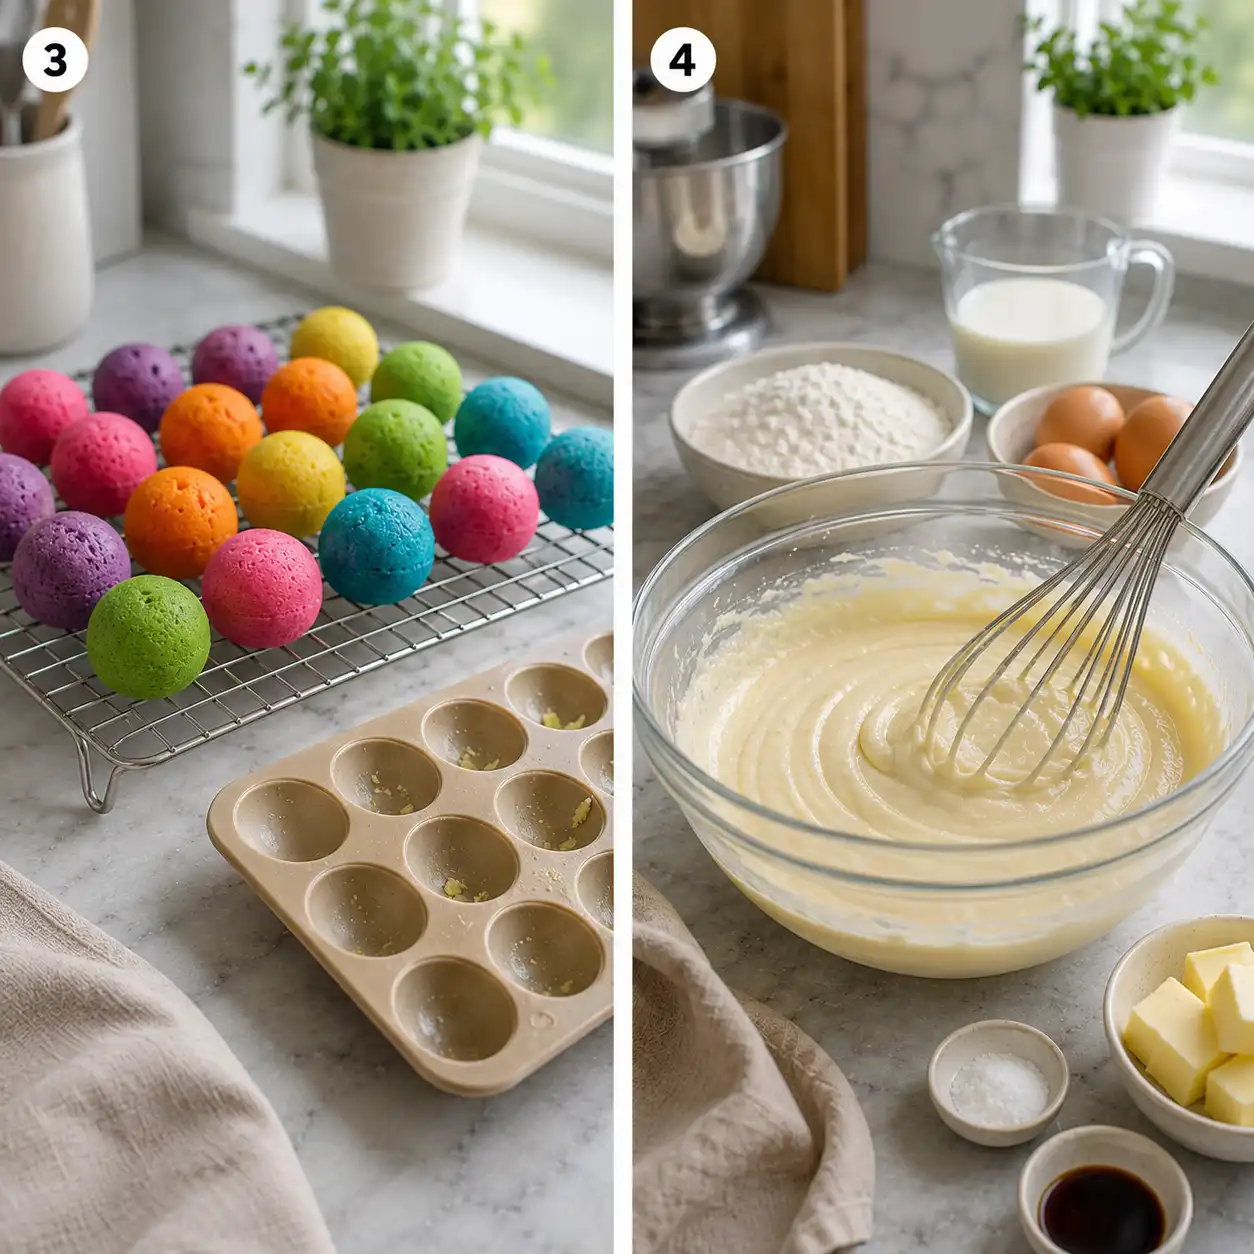
- Step 2: Bake the Dots – Pour the colored batter into a spherical silicone mold or a cake pop tin and bake until firm to the touch.
- Step 3: Cool Completely – Remove the cake balls from the mold and let them sit until they are completely cool before handling.
- Step 4: Prepare the Main Batter – Whisk together your flour, sugar, leavening agents, and wet ingredients to create the base for the final cake.
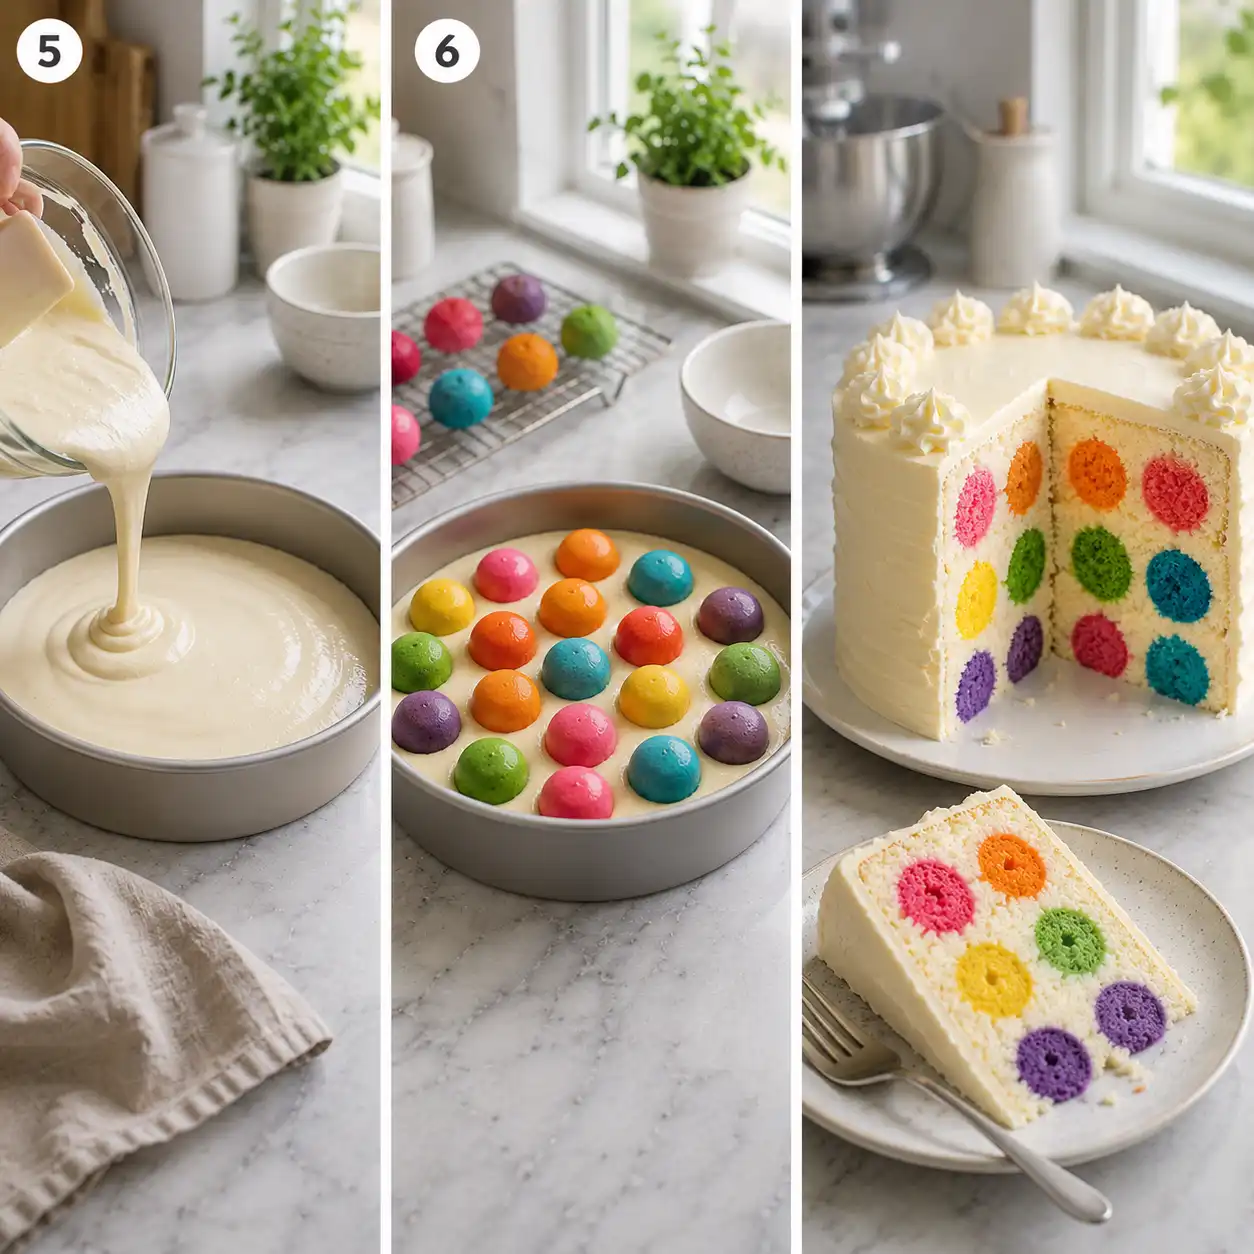
- Step 5: Assemble the Cake – Pour a thin layer of the main batter into your greased cake pan, then carefully place the cooled dots in a pattern.
- Step 6: Final Baking – Cover the dots with the remaining batter and bake the entire cake until a toothpick comes out clean.
- Step 7: Cool and Frost – Let the cake rest in the pan for ten minutes before transferring it to a wire rack to cool before adding frosting.
Tips for Perfect Placement
When you are putting the cake balls into the main batter, space them evenly to make sure every slice has at least one or two “dots.” If the batter is too thin, the dots might sink or move around during baking. Aim for a consistency similar to thick pancake batter. You can find more detailed visual guides on how to arrange these spheres by visiting the dot cake tutorial page. Proper placement is the secret to making sure your cross-section looks like a work of art rather than a random collection of shapes.
Maintaining Food Safety While Baking
Handling Eggs and Dairy
Safety in the kitchen is just as important as the taste of the final product. When working with large amounts of eggs for this dot cake recipe, always check for cracks before use. It is best to crack eggs into a separate bowl before adding them to your mixer to avoid shell fragments. The CDC provides guidelines on handling eggs to prevent foodborne illness, emphasizing the importance of cooking them thoroughly. Make sure your cake reaches an internal temperature of at least 160 degrees Fahrenheit to guarantee it is safe for everyone to eat.
Storage and Freshness
Because this cake contains dairy and eggs, you should store it properly to maintain freshness. If you use a buttercream frosting, the cake can stay at room temperature for a day or two in an airtight container. For longer storage, keep it in the refrigerator. Before serving, let the cake sit out for about thirty minutes so the butter in the crumb and frosting can soften, providing the best possible eating experience. Avoid keeping it near strong-smelling foods, as cake can absorb odors from the fridge quite easily.
Comparing Cake Styles and Textures
Dot Cake vs. Boston Cream Pie
While a dot cake focuses on internal patterns, other classic recipes like the boston cream pie recipe focus on layers of custard and chocolate glaze. The dot cake recipe is generally more structural because it needs to support the pre-baked spheres inside. A Boston cream pie is softer and more sponge-like, meant to soak up the creamy filling. Both are wonderful choices for a celebration, but the dot cake offers a unique sorpresa that is hard to beat for visual impact during a party or special event.
Cake Consistency and Crumb Structure
The crumb of this dot cake recipe should be tight enough to hold the dots in place without them falling to the bottom. If your cake is too light, like an angel food cake, the dots will likely displace the batter and create gaps. This is why a traditional butter cake or pound cake base works best. These denser cakes provide the necessary support while still offering a moist, delicious bite. If you prefer something even richer, you might look into the textures found in the best brownie recipes to see how different fat ratios affect the final density of your baked goods.
Dot Cake Recipe: Ingredient Summary Table
| Component | Ingredient | Purpose |
|---|---|---|
| Base Batter | Cake Flour | Creates a soft, delicate crumb structure. |
| Leavening | Baking Powder | Provides the necessary lift for a light cake. |
| Fat Source | Unsalted Butter | Adds rich flavor and helps with air aeration. |
| Moisture | Whole Milk | Keeps the cake hydrated and tender. |
| Decoration | Food Coloring | Gives the “dots” their vibrant, fun appearance. |
| Flavor | Vanilla Bean Paste | Adds a sweet, floral aroma without alcohol. |
Variations for Different Occasions
Holiday and Seasonal Themes
You can adapt this dot cake recipe for any holiday throughout the year. For a winter theme, use blue and white dots inside a vanilla cake. For autumn, try orange and yellow dots inside a lightly spiced cake base. The versatility of the colors allows you to match the dessert to the decorations of your event. It turns a standard baking project into a customized gift for your loved ones. You can even experiment with different flavors for the dots, such as strawberry or lemon, to add a multi-sensory experience to each slice.
Weekend Baking and Brunch Ideas
Baking doesn’t have to be reserved for major milestones. Making a dot cake can be a fun Saturday activity with the family. It fits perfectly into a list of sweet morning treats weekend plans where you have more time to spend in the kitchen. Kids love helping to color the batter and placing the dots into the pan. It is a great way to teach basic baking science and measurements while creating something that everyone can enjoy together after a nice brunch or a casual family dinner.
Troubleshooting Your Dot Cake
Preventing the Dots from Sinking
One common issue with this dot cake recipe is the dots falling to the bottom of the pan. This usually happens if the main batter is too thin or if the dots are too heavy. To prevent this, toss the cooled cake spheres in a light coating of flour before placing them in the batter. This helps them “grip” the surrounding cake mix. Also, make sure you don’t over-mix the final batter, as this can break down the air bubbles that help support the weight of the pre-baked inclusions during the cooking process.
Correcting Dry Cake Issues
If your final cake turns out a bit dry, it might be due to the double-baking of the dots. Since the spheres are baked twice, they can lose moisture. To fix this, you can lightly brush the cake balls with a simple syrup (sugar and water) before putting them into the main batter. Additionally, keep a close eye on the oven timer. Every oven is different, and even a few extra minutes can turn a moist cake into a dry one. Using a kitchen thermometer to check for a precise internal temperature is a smart way to get perfect results.
Conclusion
The dot cake recipe is a delightful way to bring color and excitement to your baking repertoire. By following the two-step process of creating colorful spheres and nesting them within a delicious base batter, you can produce a professional-looking dessert with minimal stress. Remember to use high-quality ingredients and pay attention to the temperature of your components for the best results. This cake is sure to become a requested favorite for many celebrations to come, offering a sweet surprise in every single bite.
FAQs
Can I make the dots in advance?
Yes, you can bake the colored cake spheres a day in advance. Just keep them in an airtight container at room temperature or in the fridge until you are ready to prepare the main batter. This can save you a lot of time on the day you plan to serve the cake.
What kind of frosting works best for a dot cake?
A classic vanilla buttercream or a cream cheese frosting works wonderfully. These provide a smooth surface for decorating the outside while complementing the flavors of the cake inside. Avoid very runny glazes, as they might not provide the coverage you want for this type of cake.
Can I use a box mix for this dot cake recipe?
While homemade batter offers the best flavor and control over density, you can use a high-quality box mix if you are in a hurry. Just be sure to follow the instructions for a “sturdier” cake, perhaps by adding an extra egg or using milk instead of water, to help support the dots.
How do I make the dots perfectly round?
The easiest way is to use a silicone mold specifically designed for cake pops or round chocolates. If you don’t have one, you can crumble a pre-baked cake, mix it with a little frosting to make “cake pop” dough, and roll them into balls by hand before chilling and adding them to the batter.
What if my dots are visible on the top of the cake?
If the dots peek through the top, don’t worry! You will be covering the cake with frosting anyway. As long as they are encased enough to stay in place, the frosting will hide any imperfections on the surface, and the surprise will remain hidden until the first slice is cut.