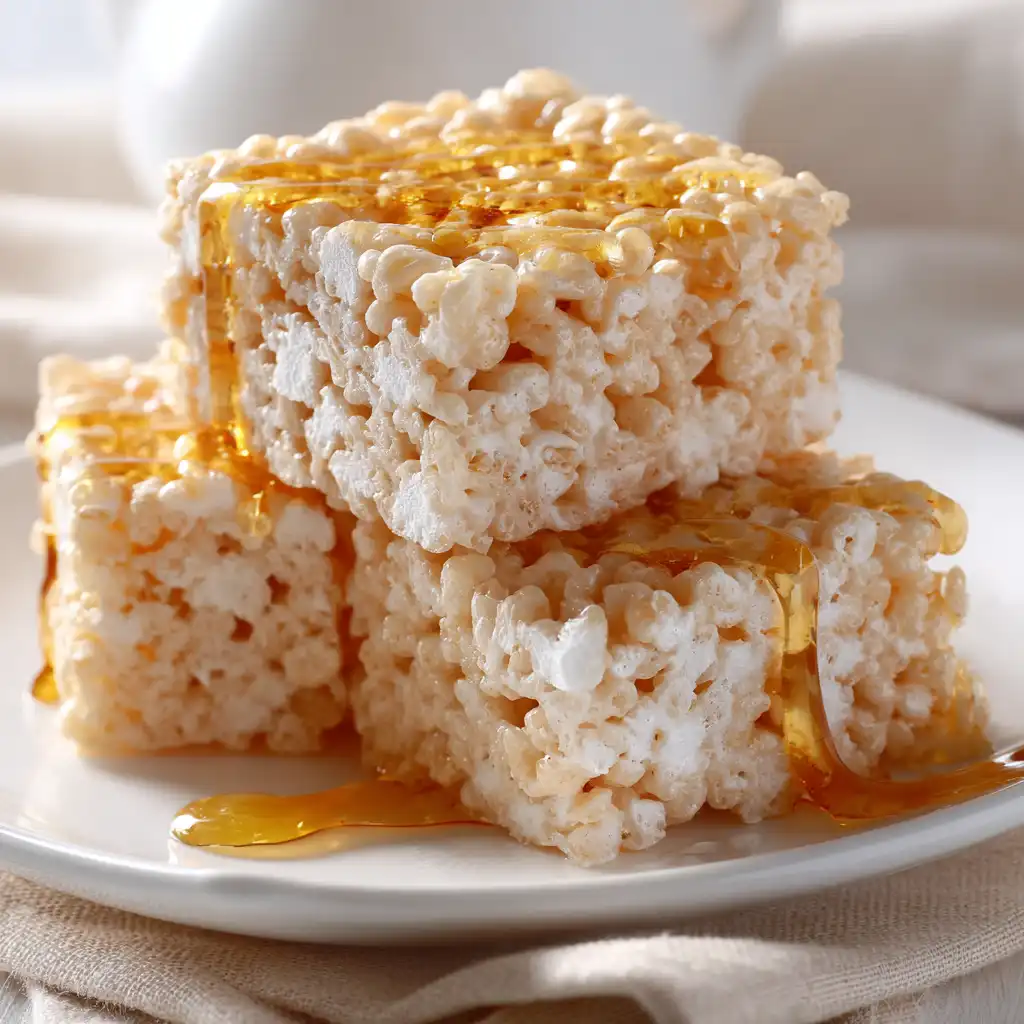
There is nothing quite like the nostalgic, sticky-sweet crunch of freshly made rice krispie treats. Whether you are packing them in a lunchbox, bringing them to a neighborhood potluck, or just craving a late-night snack, these simple snacks hit the spot every time. This guide will walk you through everything you need to know to make the perfect batch, from choosing the right ingredients to trying out fun flavor variations that will keep your family coming back for more.
Table of Contents
A Brief History of This Classic Snack
Believe it or not, these crispy squares have been around for nearly a century. They were originally created in 1939 by Mildred Day and Malitta Jensen, who worked in the Kellogg’s home economics department. The goal was to find a creative way to use the puffed rice cereal that was becoming a household staple. These ladies eventually took the recipe to a campfire girl scout fundraiser, and the rest is history. If you want to look at more about how these snacks evolved over the decades, check out the Rice Krispies Treats page on Wikipedia, which explains the cultural impact and commercialization of the recipe.
The beauty of the original recipe lies in its simplicity. With just three basic ingredients cereal, butter, and marshmallows anyone can create a dessert that is both satisfying and easy to share. Over the years, the method has remained largely the same, but home bakers have found many ways to improve the texture and taste by playing with ratios and heat levels.
Print
The Ultimate Guide to Making the Best Rice Krispie Treats
The definitive recipe for perfectly chewy, buttery, and marshmallow-filled Rice Krispie treats that stay soft for days.
- Total Time: 50 minutes
- Yield: 12 servings 1x
Ingredients
- 6 cups Crisp rice cereal
- 10 oz Mini marshmallows
- 4 tbsp Unsalted butter
- 1/2 tsp Vanilla extract
- 1/8 tsp Sea salt
- 1 tbsp Butter for greasing
Instructions
- Step 1: Grease Pan – Grease a 9×9 inch square baking pan with butter or line with parchment paper.
- Step 2: Melt Butter – In a large heavy-bottomed pot, melt the 4 tablespoons of butter over low heat.
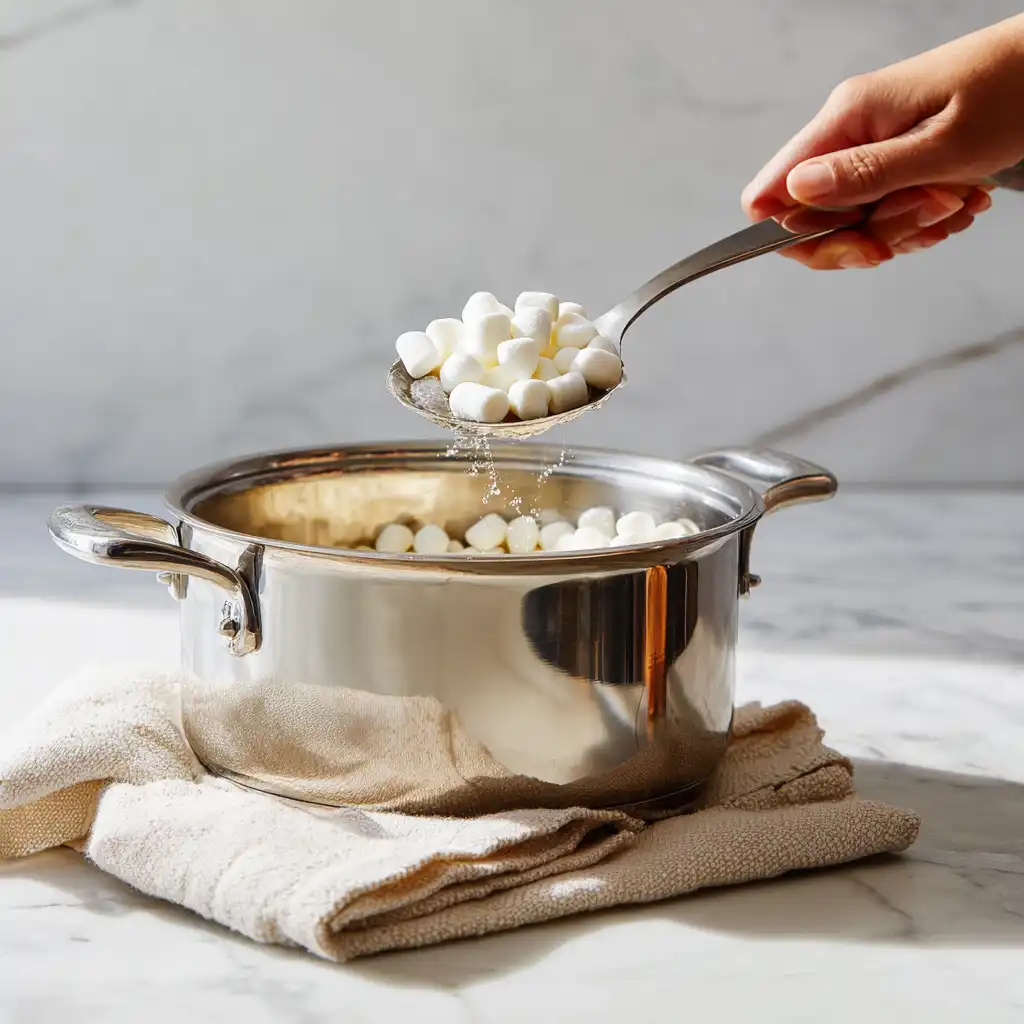
- Step 3: Melt Marshmallows – Add the mini marshmallows to the melted butter, stirring constantly to avoid burning.
- Step 4: Remove from Heat – Remove from heat immediately once the marshmallows are completely smooth and melted.
- Step 5: Add Flavor – Stir in the vanilla extract and a pinch of salt until well combined.
- Step 6: Mix Cereal – Gently fold in the crisp rice cereal until every piece is evenly coated in marshmallow.
- Step 7: Transfer Mixture – Transfer the mixture into the prepared baking pan.
- Step 8: Press Down – Press down very lightly with a buttered spatula; do not pack tightly to keep them soft.
- Step 9: Cool – Allow the treats to cool at room temperature for approximately 30 minutes.
- Step 10: Slice & Store – Slice into squares and store in an airtight container.
Notes
For extra gooey treats, add an additional cup of unmelted mini marshmallows when folding in the cereal.
- Prep Time: 10 minutes
- Cook Time: 10 minutes
- Category: Dessert
- Method: Stovetop
- Cuisine: American
- Diet: Vegetarian
Nutrition
- Serving Size: 1 square
- Calories: 155
- Sugar: 17
- Sodium: 140
- Fat: 4.2
- Saturated Fat: 2.6
- Unsaturated Fat: 1.4
- Trans Fat: 0.1
- Carbohydrates: 29
- Fiber: 0.3
- Protein: 1.1
- Cholesterol: 11
Keywords: Rice Krispie Treats, No-Bake Dessert, Marshmallow, Kid-Friendly, Easy Snacks
Choosing the Best Ingredients for Rice Krispie Treats
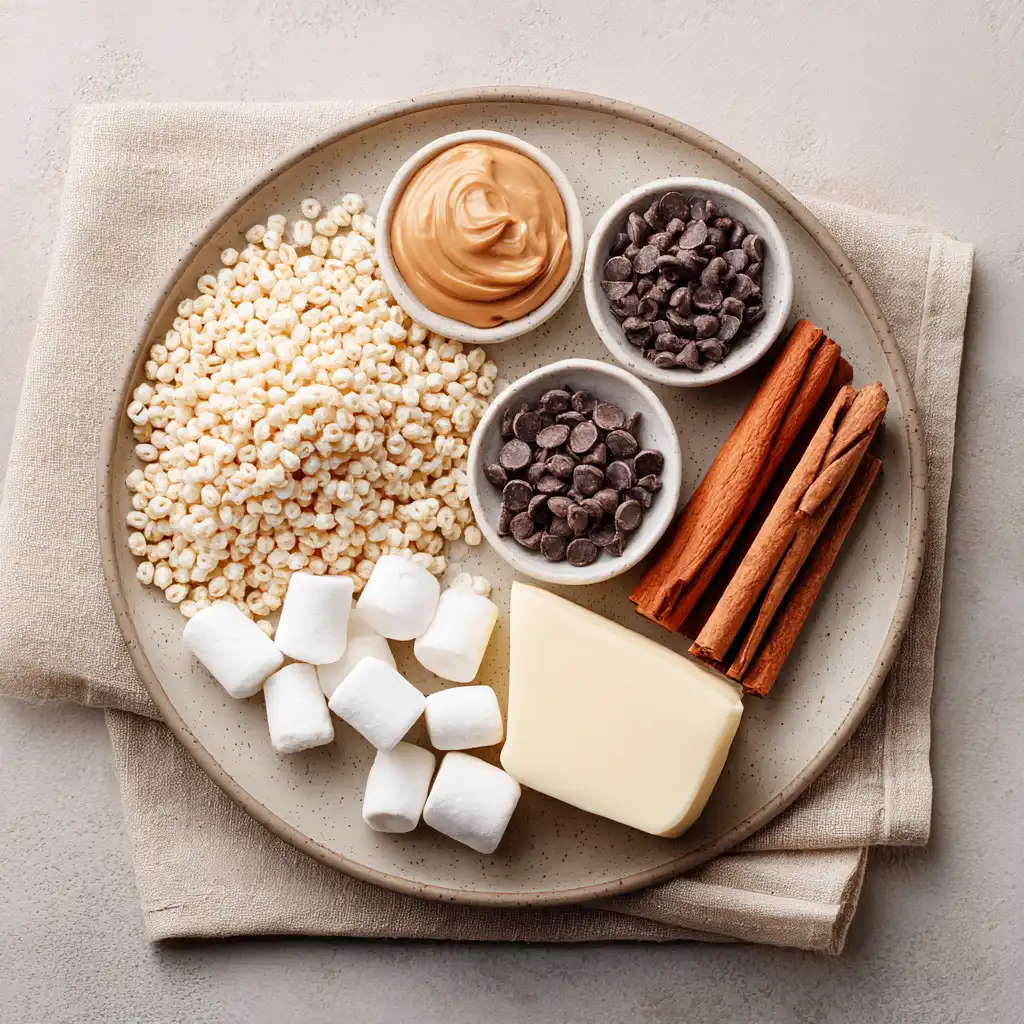
While the ingredient list is short, the quality of what you put in makes a massive difference in the final product. Using old or stale items can lead to a treat that is either too hard or lacks that signature buttery flavor. Let’s break down the core components of great rice krispie treats.
Selecting the Right Puffed Rice Cereal
The base of your rice krispie treats is, of course, the cereal. While the brand name is the classic choice, many store brands work just as well. The key is to make sure the cereal is fresh and crisp. If the box has been sitting in your pantry for months, the cereal might have absorbed moisture, making it chewy instead of crunchy. Always check the expiration date and do a quick taste test before you start melting your butter. A fresh crunch is what gives the treat its iconic texture.
The Importance of Fresh Marshmallows
Marshmallows are the glue that holds everything together. For the softest rice krispie treats, always buy a new bag of marshmallows specifically for your baking project. Older marshmallows tend to get a bit crusty on the outside and don’t melt as smoothly. If they are dry, they won’t create that stretchy, gooey bond that makes these treats so addictive. Most people prefer mini marshmallows because they melt faster and more evenly than the large ones, but either will work if you keep a close eye on the heat.
Butter: The Secret to Flavor
Butter provides the richness that balances out the sugar from the marshmallows. Most bakers prefer salted butter for rice krispie treats because it adds a tiny bit of contrast to the sweetness. If you only have unsalted butter on hand, you can simply add a pinch of salt to the mixture while it melts. Avoid using margarine or tub spreads, as these often contain more water and less fat, which can result in a soggy treat that doesn’t set correctly.
Step-by-Step Method for Making Your Treats
Making rice krispie treats is a fast process, so it helps to have all your tools ready before you turn on the stove. You will need a large pot, a sturdy spatula, and a prepared baking pan. Grease your pan well or line it with parchment paper so the treats don’t stick to the bottom when it comes time to serve them.
Melting the Butter and Marshmallows
Start by melting your butter over low heat. Once the butter is completely liquid, add in the marshmallows. It is very important to keep the heat low during this stage. If you rush the process with high heat, the sugar in the marshmallows will cook too much and become hard once it cools. Stir constantly until the mixture is smooth and creamy. As soon as the last lump of marshmallow disappears, remove the pot from the heat. This helps keep the treats soft and chewy for days.
Mixing and Pressing
Once you have your gooey marshmallow base, pour in your cereal. Use a large spatula to fold the cereal into the mixture until every piece is coated. At this stage, you want to work quickly but gently. When you transfer the mixture to your pan, do not press down firmly. If you pack the rice krispie treats too tightly, they will become dense and tough to bite into. Instead, use light pressure to spread them into the corners. A greased spatula or a piece of buttered wax paper works perfectly to smooth out the top without sticking.
Pro Tips for the Softest Rice Krispie Treats
We have all had a rice krispie treat that was so hard it was difficult to eat. To avoid this common pitfall, follow a few simple rules. First, never overcook the marshmallow mixture. The moment it looks like a smooth sauce, get it off the stove. Second, consider adding a handful of extra marshmallows at the very end of the mixing process. These won’t melt completely and will create little pockets of gooey goodness throughout the bars.
Another great trick is to use a slightly higher ratio of marshmallows to cereal than the box recipe suggests. This makes the treats more flexible and prevents them from drying out. If you want a more complex flavor, you can brown the butter before adding the marshmallows. This adds a nutty, toasted aroma that transforms the simple snack into something much more sophisticated. Just watch the butter closely as it bubbles; once it turns golden brown and smells toasted, you are ready to add your sweets.
Flavor Variations to Try at Home
One of the best things about rice krispie treats is how versatile they are. Once you master the base recipe, you can start adding different flavors and textures to suit your mood or the season.
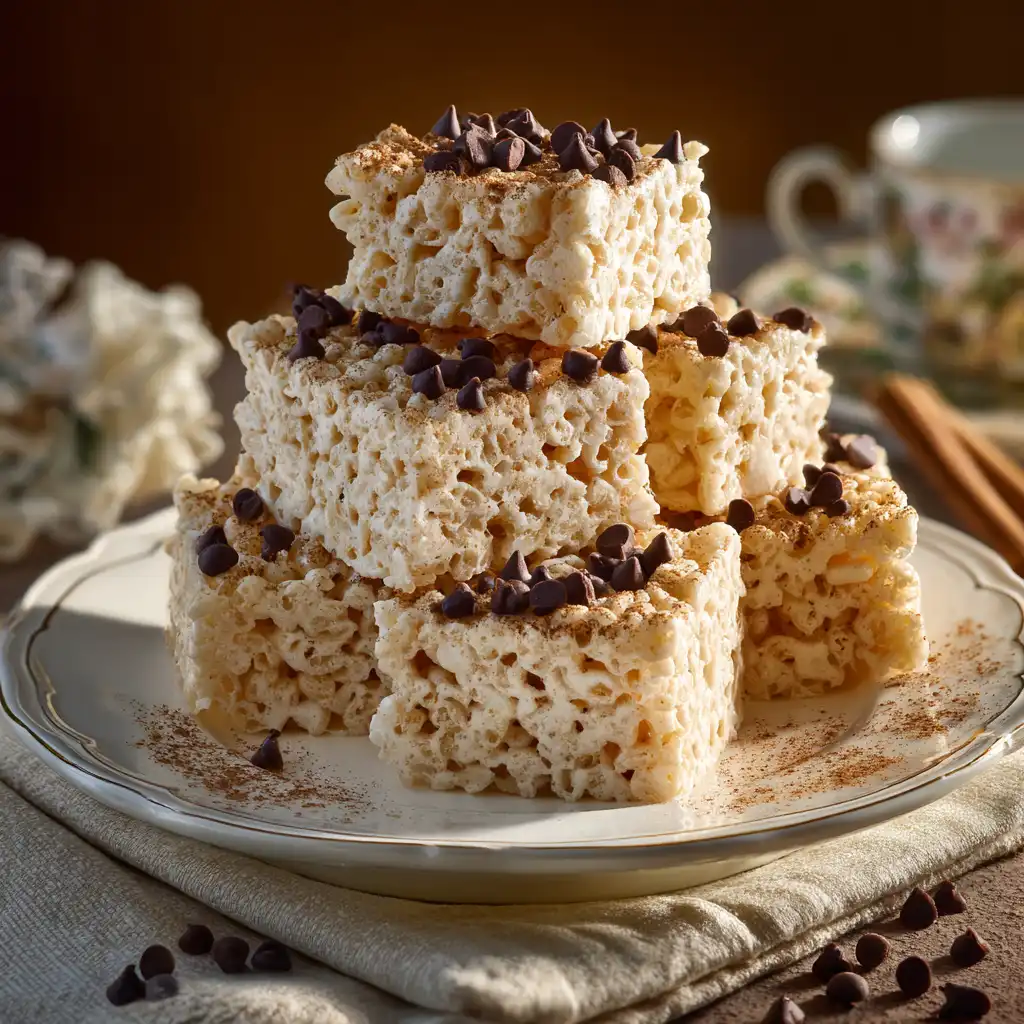
The Magic of Cinnamon and Spice
If you enjoy warm, cozy flavors, adding a teaspoon of ground cinnamon to your melted marshmallow mixture is a game changer. It makes the bars taste like a snickerdoodle cookie or a piece of breakfast toast. This version is especially popular during the fall months. For those who can’t get enough of this spice, looking through a cinnamon recipes guide can give you even more ideas on how to pair this classic spice with crunchy cereals and sweet glazes.
Adding a Rich Chocolate Twist
Chocolate and marshmallows are a match made in heaven. You can stir in a cup of chocolate chips after the cereal is mixed in, or melt chocolate on top for a decadent layer. If you find yourself frequently making desserts like chocolate chip cookie bars, you already know how much a little bit of cocoa can satisfy a sweet tooth. You can even use cocoa-flavored puffed rice cereal to make a double-chocolate version of the snack.
Nutty and Salty Combinations
For those who love the combination of sweet and salty, adding peanut butter to the marshmallow mixture is a fantastic idea. Simply stir in half a cup of creamy peanut butter once the marshmallows have melted. The flavor is reminiscent of a peanut butter brownies recipe, offering a rich and savory depth that cuts through the sugar. You can also top these with a sprinkle of sea salt or crushed pretzels for an extra crunch.
Unexpected and Unique Ingredients
Don’t be afraid to get creative with what you have in your pantry. Some people like to add dried fruit, chopped nuts, or even crushed candies. If you are looking for ways to sneak in different textures or are interested in how vegetables can sometimes play a role in sweets, you might find inspiration from sweet potato brownies. While you wouldn’t put a sweet potato in a rice krispie treat, the idea of using unique ingredients to change the moisture and density of a bar is a fun way to experiment in the kitchen.
Comparing Pan Sizes and Ratios
Depending on how many people you are feeding, you might need to adjust your recipe. Use the table below to help you decide which pan size and ingredient amounts will work best for your needs.
| Pan Size | Cereal Amount | Marshmallow Weight | Butter Amount |
|---|---|---|---|
| 8×8 inch Square | 4-5 Cups | 10 oz (1 bag) | 3 Tbsp |
| 9×9 inch Square | 6 Cups | 12 oz | 4 Tbsp |
| 9×13 inch Rectangular | 9-10 Cups | 16-20 oz | 6 Tbsp |
Storing and Keeping Your Treats Fresh
Rice krispie treats are best eaten within the first day or two, but they can last longer if stored correctly. The biggest enemy of these bars is air, which causes the cereal to go stale and the marshmallows to harden. Always store them in an airtight container at room temperature. If you have to layer them, place a piece of parchment or wax paper between the layers to keep them from sticking together.
Avoid putting them in the refrigerator, as the cold temperature will make the butter and sugar firm up, leading to a very hard bar. If you need to keep them for more than a few days, you can actually freeze rice krispie treats. Wrap individual squares tightly in plastic wrap and then place them in a freezer bag. When you are ready to eat one, just let it sit on the counter for about fifteen minutes to soften up.
Fun Decorating Ideas for Kids
Since these treats are so sturdy, they are great for decorating. You can use cookie cutters to cut them into fun shapes like stars, hearts, or seasonal figures. Kids love dipping the edges of the bars into melted white chocolate and then covering them with colorful sprinkles. You can also use food coloring in the marshmallow mixture to create vibrant treats for birthdays or holidays. For example, green treats for St. Patrick’s Day or orange for Halloween make for a very festive presentation without much extra work.
FAQs
Can I make rice krispie treats in the microwave?
Yes, you can! Just place the butter and marshmallows in a large microwave-safe bowl. Heat them in 30-second intervals, stirring in between, until the mixture is smooth. This is a great way to save time, but be careful not to overheat the marshmallows, or they will expand rapidly and get tough.
Why did my rice krispie treats turn out too hard?
There are usually two reasons for this. Either the marshmallows were cooked over heat that was too high, causing the sugar to crystallize, or the treats were pressed too firmly into the pan. Always use low heat and a gentle touch when spreading the mixture.
Can I use marshmallow fluff instead of whole marshmallows?
You can use marshmallow fluff if you are in a pinch. Generally, a 7-ounce jar of fluff is equal to about 4 cups of mini marshmallows. The texture might be slightly different often a bit softer and stickier but the flavor will still be delicious.
Are rice krispie treats gluten-free?
Standard puffed rice cereal is often made with malt flavoring, which contains gluten. However, there are many gluten-free puffed rice cereals available on the market. Always check the label of both the cereal and the marshmallows to make sure they meet your dietary needs.
Can I add vanilla extract?
Adding a teaspoon of vanilla extract to the melted marshmallow mixture is a great way to improve the flavor. It adds a lovely aroma and makes the treats taste a bit more homemade. You can also try almond extract for a different twist.
Conclusion
Making rice krispie treats is a wonderful way to bring a little bit of joy into your kitchen with very little effort. By focusing on fresh ingredients, using low heat, and keeping a light hand when pressing them into the pan, you can create a snack that is far superior to anything you can buy at the store. Whether you stick to the classic version or experiment with cinnamon, chocolate, or peanut butter, these treats are sure to be a hit. So grab a bag of marshmallows and a box of cereal, and start mixing up a batch of these gooey, crunchy delights today!


