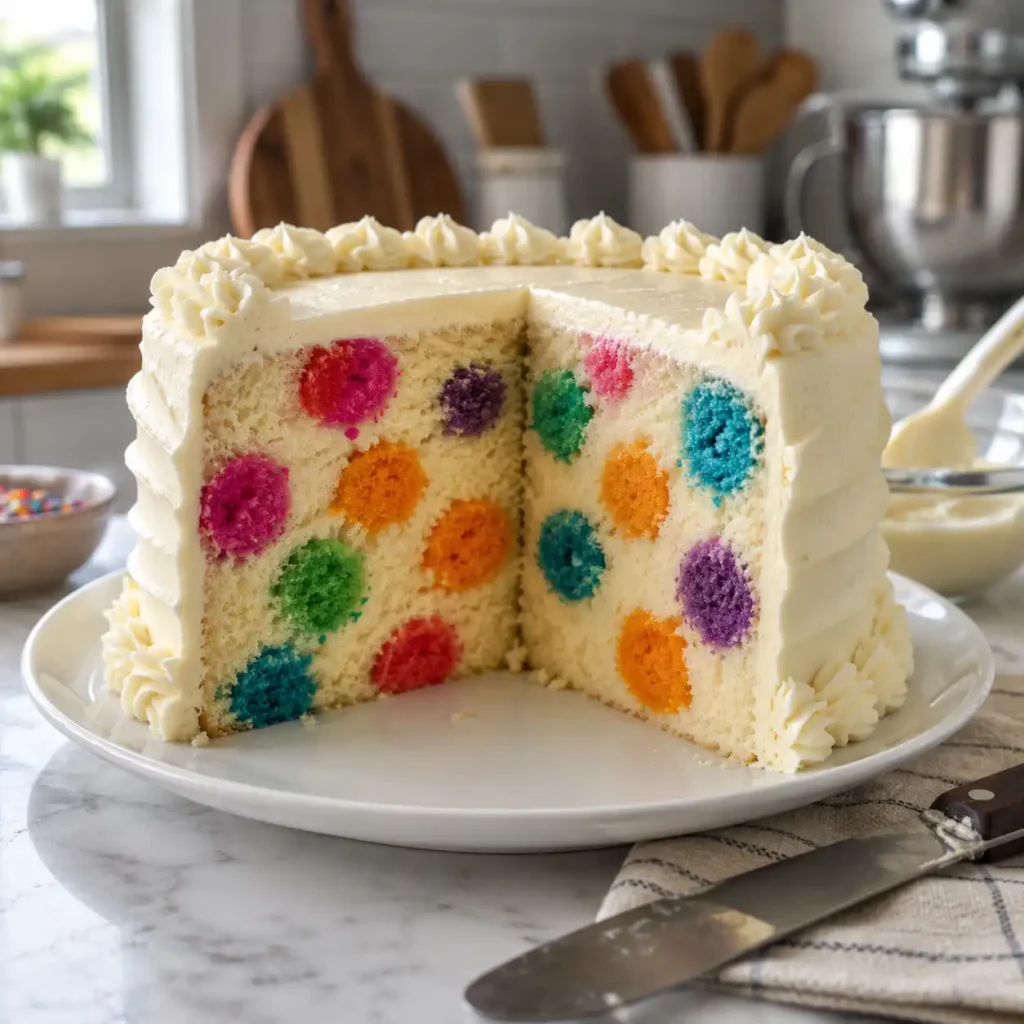
The afternoon sun spilled across my kitchen counter, catching the fine dust of flour still hanging in the air. My youngest was perched on a stool, eyes wide with anticipation as I pulled a seemingly ordinary vanilla cake from the oven. She didn’t know that hidden inside that golden crust were bright, colorful spheres of joy. When we finally made the first cut, her gasp of delight said it all the dot cake had worked its magic once again, turning a simple snack into a memorable event.
Table of Contents
What Exactly Is a Dot Cake?
A dot cake is a whimsical dessert known for its distinctive polka-dot pattern, which can appear either on the outside as decoration or inside the sponge as a hidden surprise. These cakes have become a favorite for birthdays, baby showers, and festive gatherings because they offer a visual “wow” factor without requiring professional pastry chef skills. The beauty of a dot cake lies in its versatility; you can use bold, contrasting colors for a modern look or soft pastels for a more delicate feel.
While the name sounds simple, the dot cake represents a fun trend in the baking world where the interior of the cake is just as important as the frosting. Whether you are placing perfectly round balls of colored batter inside a different colored sponge or piping precise circles of buttercream on the exterior, the goal is to create a pattern that feels both intentional and cheerful. This style of baking celebrates the joy of color and the fun of a hidden reveal.
The Two Main Varieties of Dot Cake
There are two primary ways to approach a dot cake. The first is the “Surprise-Inside” method, where small, pre-baked cake balls are placed into a fresh batch of batter before baking the main cake. This creates the illusion of floating dots when the cake is sliced. The second is the “External Decoration” method, which focuses on using frosting or fondant to create a polka-dot pattern on the surface. Both versions of the dot cake are charming in their own right, and choosing between them depends on how much time you have and what kind of visual impact you want to make.
Print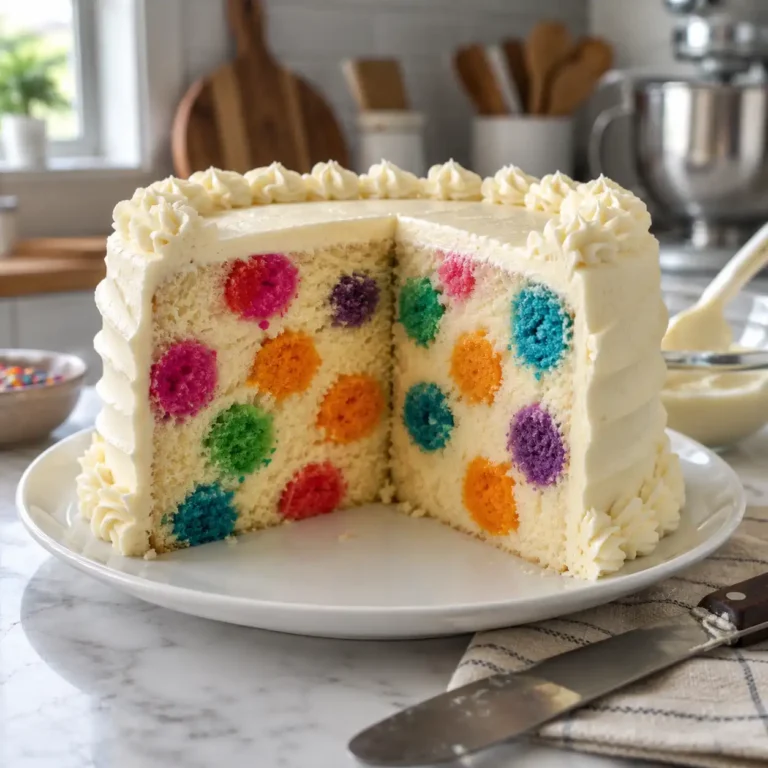
Making the Perfect Dot Cake: A Guide to Playful Baking
A whimsical and colorful vanilla cake featuring vibrant cake ‘dots’ hidden inside for a delightful surprise in every slice.
- Total Time: 1 hour 40 minutes
- Yield: 12 servings 1x
Ingredients
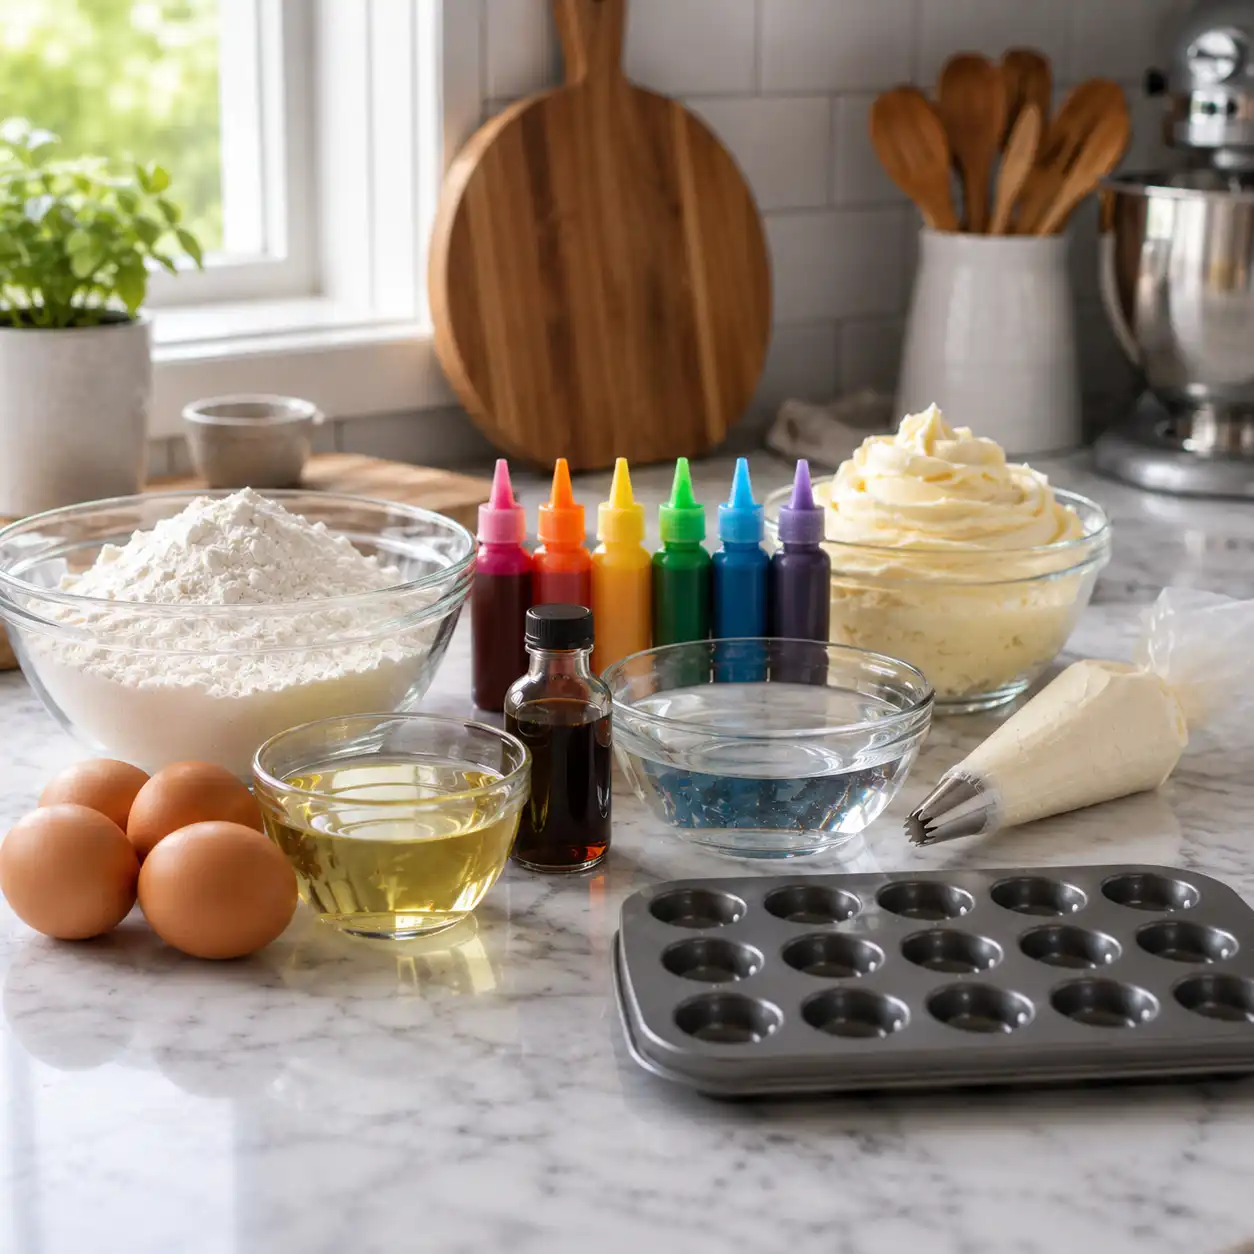
- 2 boxes (15.25 oz each) white cake mix
- 6 large eggs
- 1 cup vegetable oil
- 2 cups water
- Assorted gel food coloring (pink, blue, yellow, green)
- 2 teaspoons pure vanilla extract
- 1 cup vanilla buttercream frosting
- 2 tablespoons rainbow sprinkles
Instructions
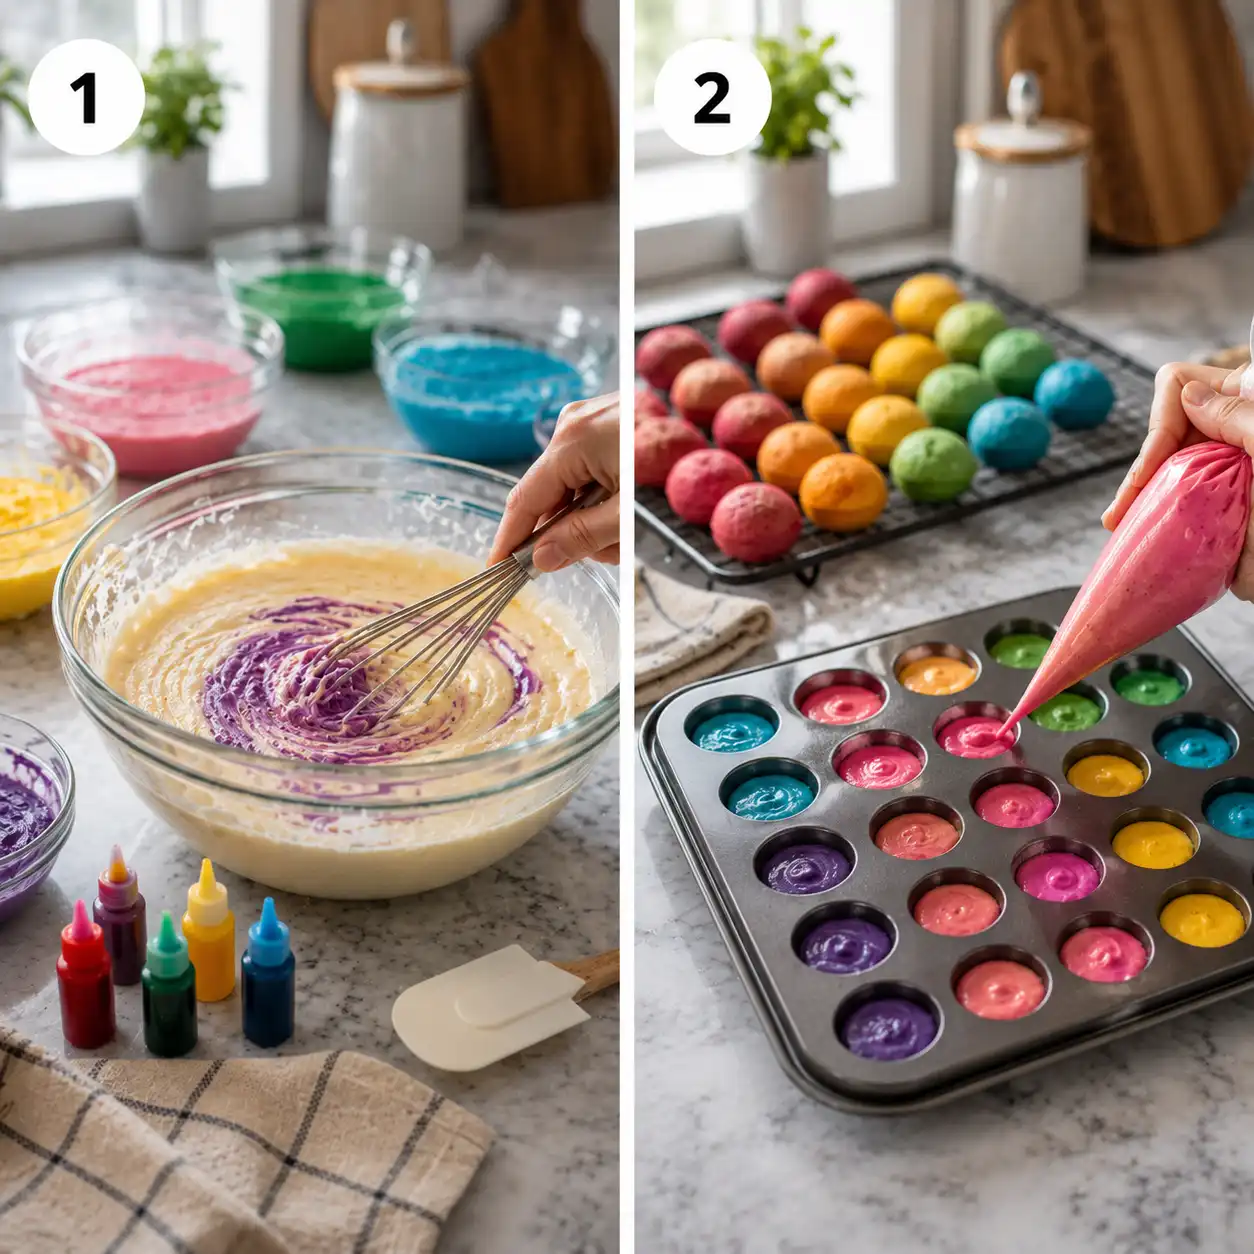
- Step 1: Prep First Batter – Mix one box of cake mix with 3 eggs, 1/2 cup oil, and 1 cup water.
- Step 2: Color the Batter – Divide the batter into four bowls and stir in different gel food colors until vibrant.
- Step 3: Bake the Dots – Pour colored batter into a cake pop maker or mini-sphere pan and bake for 15 minutes.
- Step 4: Cool the Spheres – Remove the colorful cake balls from the pan and let them cool completely on a wire rack.
- Step 5: Prep Main Batter – Mix the second box of cake mix with the remaining eggs, oil, water, and vanilla extract.
- Step 6: Layer the Base – Pour about 1 cup of the white batter into a greased 9×5 inch loaf pan.
- Step 7: Arrange the Dots – Place the cooled colorful cake balls in a dense pattern over the bottom batter layer.
- Step 8: Cover the Dots – Carefully pour the remaining white batter over the balls until the pan is three-quarters full.
- Step 9: Final Bake – Bake at 350°F (175°C) for 35-40 minutes until a toothpick inserted in the white section comes out clean.
- Step 10: Frost and Decorate – Allow the cake to cool, spread buttercream over the top, and add sprinkles before slicing.
Notes
Ensure the cake balls are completely cool before placing them in the second batter to prevent them from melting or bleeding colors.
- Prep Time: 45 minutes
- Cook Time: 55 minutes
- Category: Dessert
- Method: Baking
- Cuisine: American
- Diet: Vegetarian
Nutrition
- Serving Size: 1 slice
- Calories: 340 kcal
- Sugar: 28 g
- Sodium: 310 mg
- Fat: 16 g
- Saturated Fat: 3.5 g
- Unsaturated Fat: 12.5 g
- Trans Fat: 0.1 g
- Carbohydrates: 48 g
- Fiber: 1 g
- Protein: 4 g
- Cholesterol: 55 mg
Step-by-Step Guide to the Surprise-Inside Dot Cake
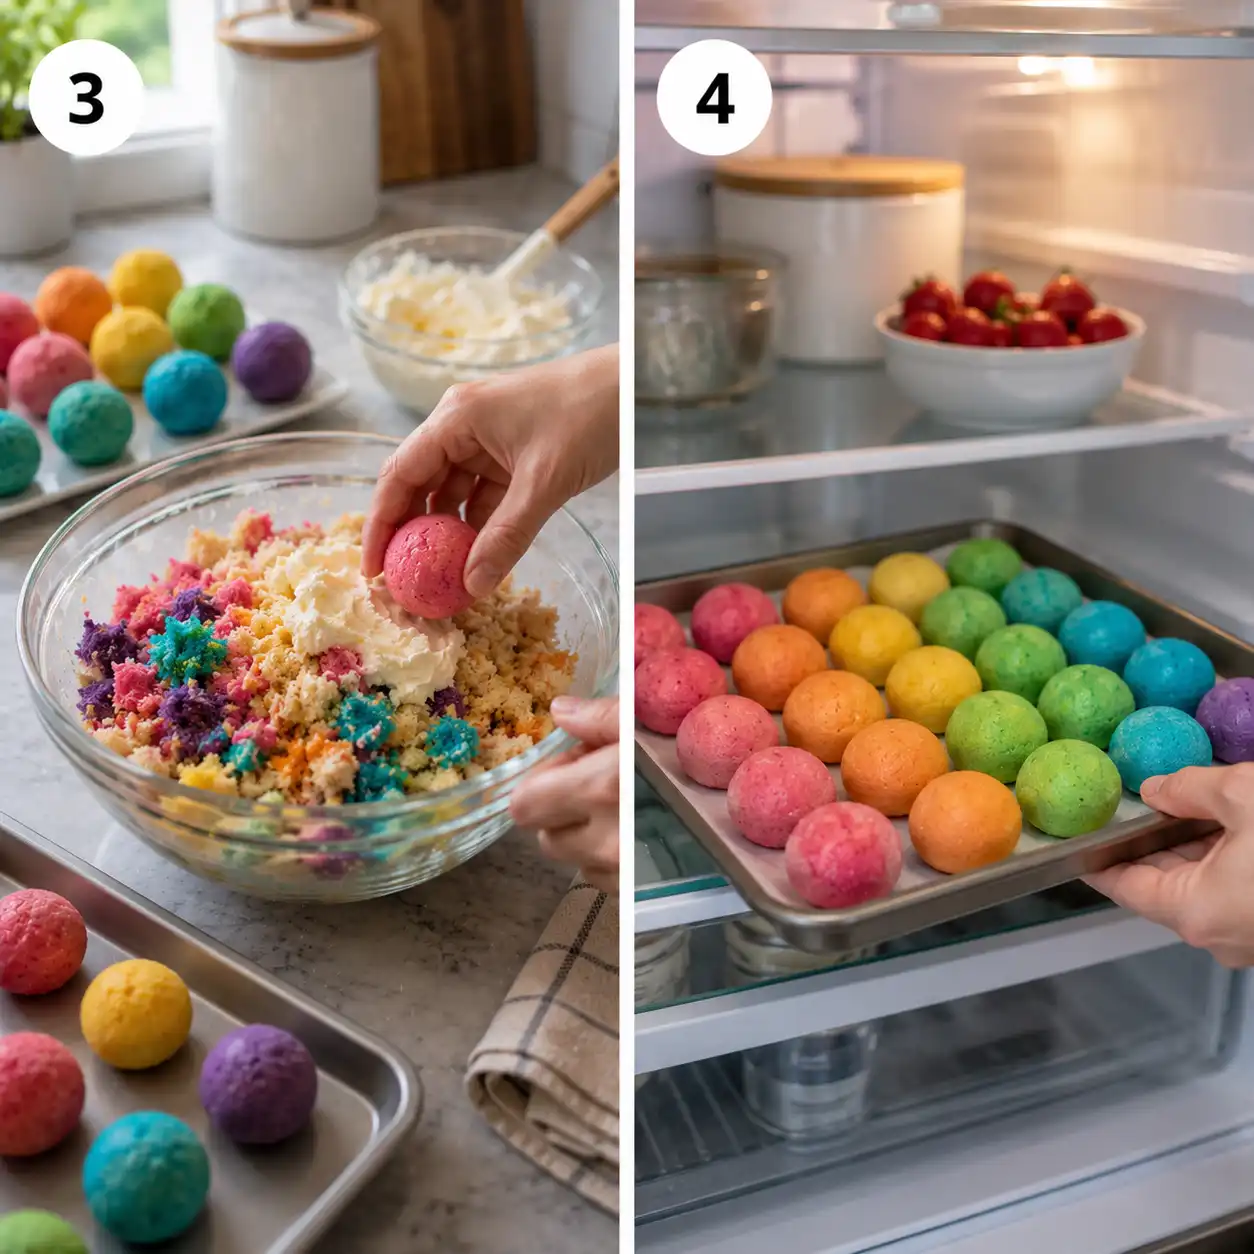
Creating a dot cake with a hidden pattern is a two-stage process, but it is much easier than it looks. You essentially bake a small batch of cake first, shape it into balls, and then bake them again inside the main cake. Because the inner “dots” are already baked, they hold their shape and color during the second round in the oven, resulting in that iconic dot cake appearance.
- Step 1: Bake the Inner Dots – Prepare a standard cake batter and color it with your favorite food dyes. Pour this into a cake pop mold or a shallow pan. If using a pan, bake the cake, let it cool, crumble it, and mix it with a little frosting to roll into firm balls.
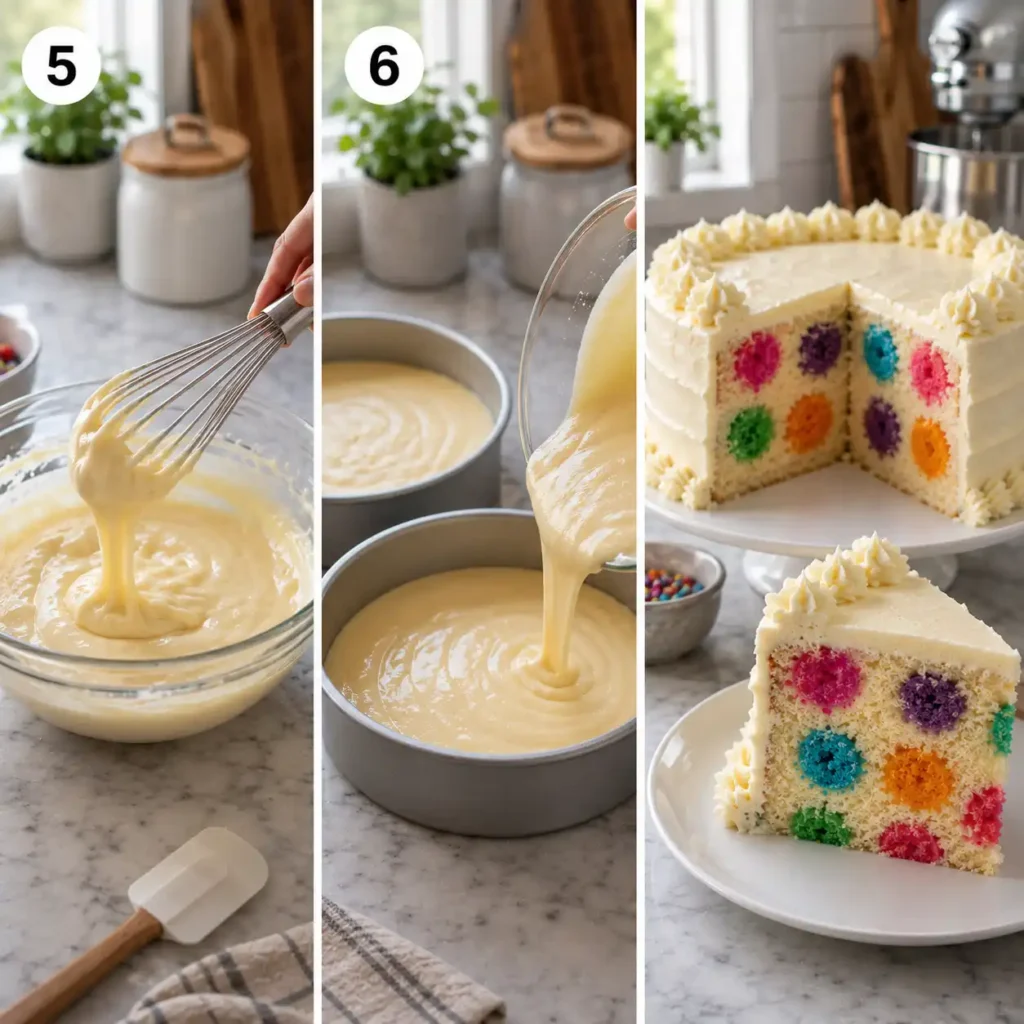
- Step 2: Prepare the Main Batter – Whisk together a fresh batch of batter in a contrasting color. If your dots are bright red, a white or yellow vanilla batter works perfectly for your dot cake.
- Step 3: Arrange the Dots – Pour a thin layer of the new batter into your cake pans. Place the pre-baked cake balls into the batter in a circular pattern, making sure they don’t touch the sides of the pan.
- Step 4: Cover and Bake – Carefully pour the remaining batter over the balls until they are completely covered. Place the pans in the oven and bake according to your recipe’s instructions until the dot cake is golden and a toothpick comes out clean.
- Step 5: Cool and Level – Allow the cakes to cool completely in the pans. Once cool, level the tops if necessary, being careful not to cut too deep and expose the hidden dots inside your dot cake.
- Step 6: Frost and Serve – Apply a smooth coat of buttercream. The real fun begins when you slice into the dot cake and reveal the colorful circles to your guests.
Decorating Your Dot Cake with Style
If you prefer a dot cake that shows off its pattern on the outside, you can use various frosting techniques to achieve the look. Piping round dots of different sizes is the most common method. To do this, you will need a piping bag fitted with a plain round tip. By varying the pressure you apply to the bag, you can create a dot cake with a “bubbly” look that looks professional yet remains approachable for beginners. If you want more tips on basic frosting applications, The Spruce Eats’ decorating tips offer a great starting point for those new to the craft.
Another popular way to finish a dot cake is by using edible decorations. Sprinkles, chocolate chips, or even small round candies can be pressed into the frosting to form a polka-dot grid. This is a fantastic way to involve children in the process. While you are busy in the kitchen, you might find that these playful desserts are perfect for sweet morning treats weekend gatherings with family where everyone can help decorate their own slice of dot cake.
Mastering the Piping Technique
The secret to a beautiful exterior dot cake is consistency. When piping your dots, hold the bag at a 90-degree angle to the surface of the cake. Squeeze gently to let the frosting form a circle, then stop the pressure before pulling the bag away with a quick flick. This prevents the “peaks” that can sometimes make a dot cake look messy. If the frosting is too soft, the dots will sag; if it is too stiff, they won’t stick. Finding that middle ground is key to a stunning dot cake.
Flavor Combinations for Your Dot Cake
While the dot cake is famous for its look, the flavor should never be an afterthought. A classic combination is a vanilla bean cake with strawberry-flavored pink dots. The contrast in color is striking, and the flavors are universally loved. For something a bit richer, a dark chocolate cake with white chocolate dots creates a sophisticated dot cake that is perfect for more formal celebrations. You can also experiment with citrus flavors, using a lemon sponge with lime-colored dots for a refreshing summer treat.
If you love a classic filled dessert but want something more traditional than a hidden-pattern cake, you might try a Boston cream pie recipe as your next project. It offers a different kind of “surprise” inside with its creamy custard layer. However, the dot cake remains unique because it allows for multiple colors and patterns within the crumb itself, which a standard filled cake cannot do.
| Technique | Difficulty Level | Best For… | Primary Benefit |
|---|---|---|---|
| Surprise-Inside Dots | Medium | Birthdays & Reveals | Hidden visual impact |
| Piped Frosting Dots | Easy | Quick celebrations | Textured, tactile look |
| Candy-Applied Dots | Very Easy | Baking with kids | Adds extra crunch/flavor |
| Fondant Cut-out Dots | Hard | Professional events | Clean, geometric finish |
Healthier Twists on the Dot Cake
Not every dot cake needs to be a sugar overload. You can adapt the recipe to fit different dietary needs. For instance, using almond flour or oat flour can change the texture while still supporting the “hidden dot” structure. For those watching their sugar intake, adding a side of sugar free gelatin dessert can satisfy that sweet tooth without adding extra calories to your plate. It’s all about balance and finding ways to keep the dot cake fun for everyone at the table.
While a dot cake is typically light and airy, sometimes you want a denser snack like high protein sweet potato brownies to balance your day. These can even be used as the base for the “dots” inside a larger cake if you want to add a nutritional boost and a fudgy texture to your dot cake. The contrast between a light sponge and a dense brownie dot is a delightful surprise for any dessert lover.
Natural Coloring Options
If you prefer to avoid artificial dyes in your dot cake, nature provides plenty of vibrant options. Beet juice can create a stunning red or pink, while matcha powder offers a beautiful earthy green. Turmeric can be used for yellow, though you must use it sparingly to avoid a savory taste. Using these natural sources for your dot cake adds a layer of depth to the flavors and makes the baking process feel a bit more grounded and wholesome.
Pro Tips for a Successful Dot Cake
Baking a dot cake requires a little bit of patience. One common mistake is using batter that is too thin, which causes the pre-baked dots to sink to the bottom or drift to the sides. To prevent this, make sure your main batter is thick enough to support the weight of the cake balls. For more advanced guidance on how to manage complex cake interiors, King Arthur Baking’s guide on surprise-inside cakes provides excellent technical advice on batter consistency and baking times.
Another tip for the perfect dot cake is to chill your cake balls before placing them in the fresh batter. This keeps them from crumbling or softening too much during the second bake. When you are ready to assemble, use a light touch. If you press the dots down too hard, they might lose their round shape. A little bit of care goes a long way in making sure your dot cake looks exactly like the vision you had in your head.
Storage and Freshness
A dot cake stays fresh for about three to four days if kept in an airtight container at room temperature. If your frosting contains cream cheese or fresh fruit, you should definitely store it in the refrigerator. Before serving a refrigerated dot cake, let it sit out for about thirty minutes. This allows the crumb to soften and the flavors to wake up, ensuring every bite is as delicious as the first. If you have leftovers, they make a great snack with a cup of tea the next morning.
FAQs
What if my dots are not perfectly round?
Don’t worry! A dot cake is meant to be fun and homemade. If the dots are a little bit oval or irregular, it just adds to the charm of the dessert. If you really want perfect circles, using a silicone cake pop mold to bake the inner dots is the most reliable way to get that geometric precision in your dot cake.
Can I use different shapes instead of dots?
Absolutely. Once you master the dot cake technique, you can use small cookie cutters to create hearts, stars, or even holiday shapes like pumpkins or Christmas trees. The process is exactly the same: bake the shapes first, then place them in the second batter. The dot cake is just the beginning of a whole world of “hidden shape” baking.
Why did my dots change color after the second bake?
Some food dyes are sensitive to heat. If your dot cake colors look faded, try using “gel” food coloring rather than the liquid kind found in most grocery stores. Gel colors are more concentrated and tend to stay vibrant even after being baked twice inside a dot cake.
Can I make a dot cake with a box mix?
Yes, you certainly can! Using a box mix is a great way to save time. Just follow the instructions on the box for two separate cakes. Use one for the dots and the other for the main body of your dot cake. You might need to add an extra egg or a tablespoon of flour to the “main” batter to make it slightly thicker so it holds the dots in place better.
Conclusion
The dot cake is more than just a sweet treat; it is a way to bring a little extra wonder to the table. Whether you are hiding colorful spheres inside a golden sponge or piping playful circles across a layer of smooth buttercream, the result is always a smile. By following these steps and keeping your sense of humor in the kitchen, you can create a dot cake that tastes as good as it looks. So, grab your mixing bowls and let your creativity run wild with your next dot cake masterpiece.
1 thought on “Making the Perfect Dot Cake: A Guide to Playful Baking”