Ingredients
Scale
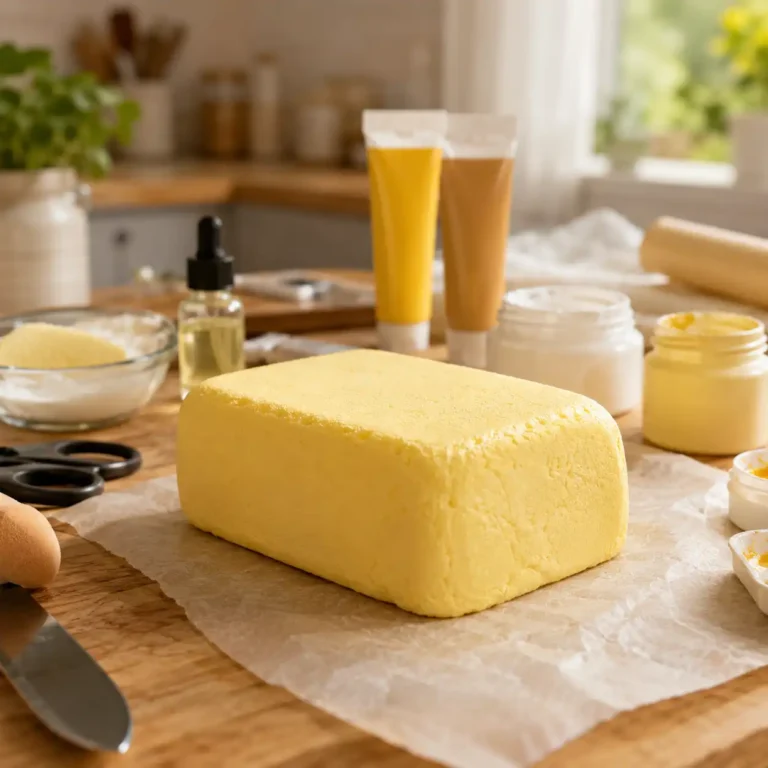
- 1 block memory foam or high-density upholstery foam
- 2 tablespoons white fabric glue
- 2 tablespoons white or pale yellow puffy paint
- 1 tablespoon yellow, tan, or assorted acrylic paint
- 2 drops vanilla or lemon essential oil or soap scent
- 1 teaspoon cornstarch or translucent setting powder
- 1 teaspoon clear fabric sealer, optional
- 1 sheet parchment paper or wax paper
Instructions
- Step 1: Cut the Foam – Use sharp scissors or a bread knife to cut the memory foam into a basic rectangular block.
- Step 2: Refine the Shape – Trim the edges repeatedly to smooth out any jagged corners until the surface looks even.
- Step 3: Mix the Base Coating – Combine equal parts white fabric glue and puffy paint in a small bowl until smooth.
- Step 4: Apply the Primer – Use a makeup sponge to dab the mixture onto the foam, covering every pore thoroughly.
- Step 5: Initial Dry Time – Place the squishy on parchment paper and let the first coat dry for 4 hours.
- Step 6: Add Color Layers – Mix acrylic paint with puffy paint and apply 2 to 3 thin coats, allowing each coat to dry before adding the next.
- Step 7: Add Scent – Add a small amount of vanilla or lemon scent to the final paint layer, then let it dry completely.
- Step 8: Finish the Surface – Dust lightly with cornstarch or translucent setting powder to reduce tackiness.
- Step 9: Seal the Squishy – Brush on a thin coat of clear fabric sealer if you want a glossier, longer-lasting finish.
Notes
Use thin coats for the smoothest finish. Let every layer dry fully before squeezing the foam. This craft is decorative and is not edible.
- Prep Time: 20 minutes
- Cook Time: 0 minutes
- Category: DIY Craft
- Method: Foam Craft
- Cuisine: Craft Tutorial
Nutrition
- Serving Size: 1 craft
- Calories: 0
- Sugar: 0g
- Sodium: 0mg
- Fat: 0g
- Saturated Fat: 0g
- Unsaturated Fat: 0g
- Trans Fat: 0g
- Carbohydrates: 0g
- Fiber: 0g
- Protein: 0g
- Cholesterol: 0mg
Keywords: butter squishy, DIY squishy, memory foam craft, puffy paint craft, beginner craft tutorial