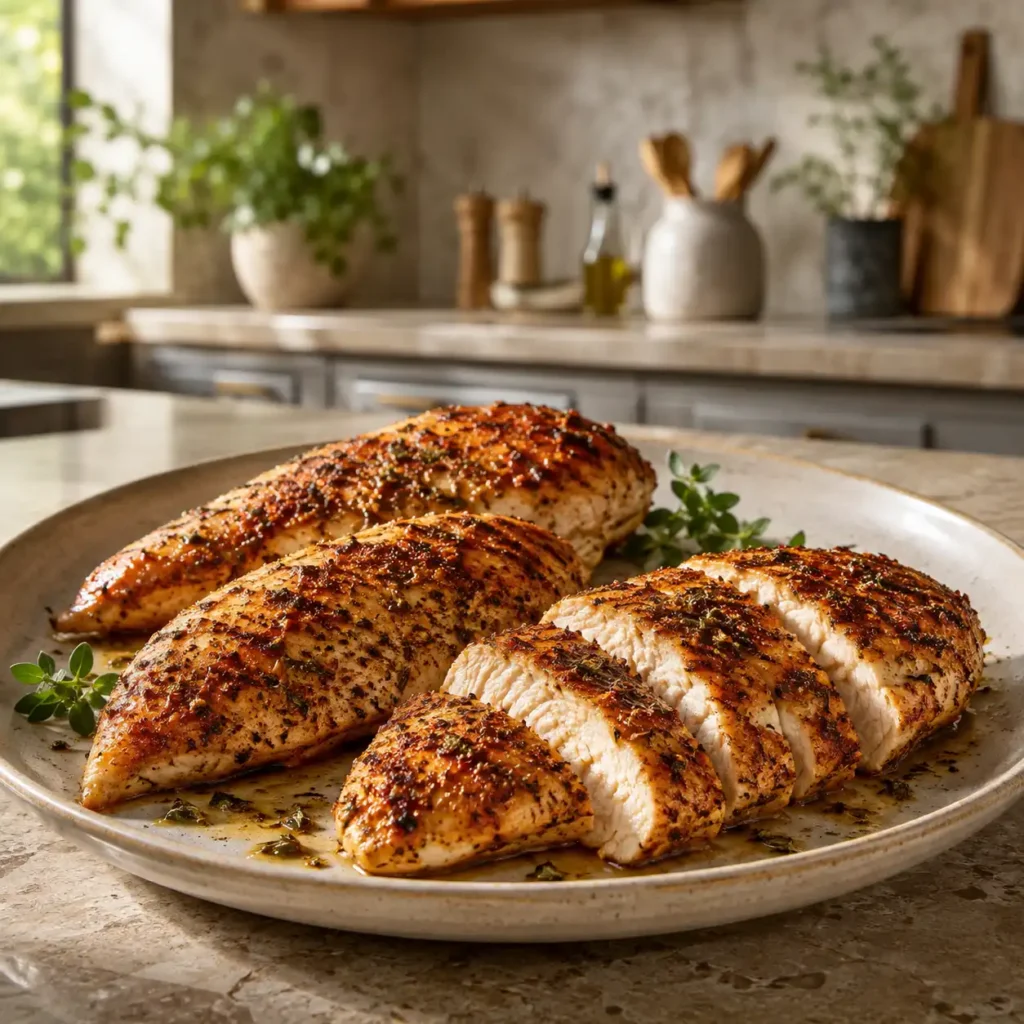
Finding the right way to cook a baked chicken breast can sometimes feel like a challenge. Many people worry about the meat becoming dry or flavorless when it comes out of the oven. However, when you use the right techniques, a baked chicken breast can be the star of your dinner table. It is lean, packed with protein, and incredibly versatile for various meals. This guide will show you exactly how to achieve juicy, tender results every single time without any fuss or complicated steps.
Table of Contents
Why You Should Master the Baked Chicken Breast
The baked chicken breast is a staple in many households because it fits into almost any diet. Whether you are focusing on muscle growth or simply want a light dinner, this cut of meat provides a high-quality source of protein. Because it has very little fat compared to thighs or wings, it is a favorite for those watching their calorie intake. Learning to cook a baked chicken breast properly means you always have a reliable base for salads, wraps, or main courses.
High-Protein Benefits for Your Daily Diet
Protein is essential for repairing tissues and keeping you full throughout the day. A single baked chicken breast can provide a significant portion of your daily requirements. Many people include this dish in their high protein low carb meals because it helps maintain energy levels without adding heavy sugars or fats. When you bake it instead of frying it, you keep the meal light and heart-healthy while keeping all those important nutrients intact for your body to use.
Versatility in the Kitchen
One of the best things about a baked chicken breast is that it acts like a blank canvas. You can season it with simple salt and pepper, or go bold with spicy rubs and citrus marinades. Because it cooks relatively quickly, it is perfect for busy weeknights when you need to get food on the table in under thirty minutes. You can slice it up for a quick lunch the next day or dice it to add to a hearty soup. The possibilities are truly endless when you have a batch of these ready to go.
Print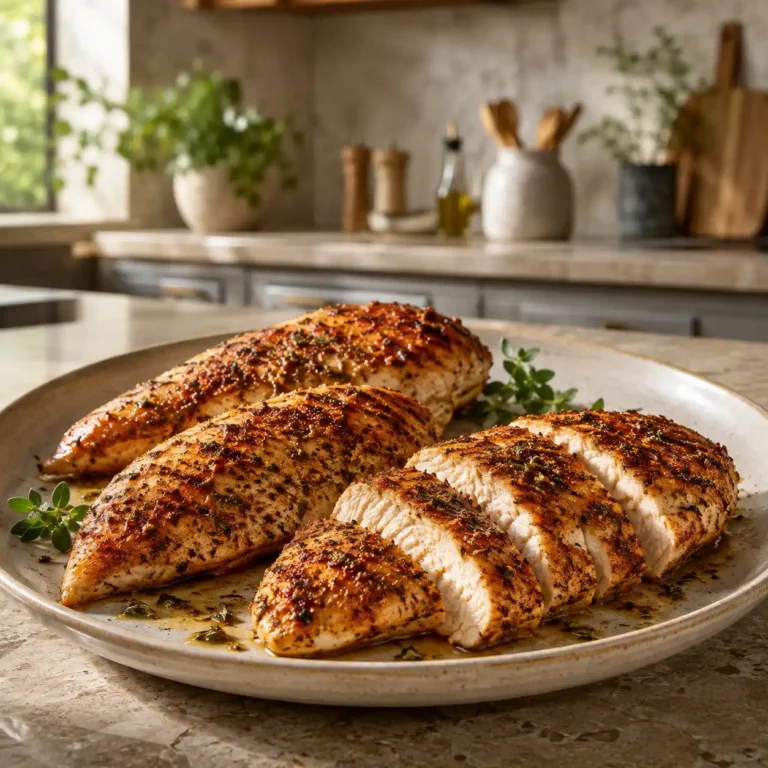
The Ultimate Guide to Perfect Baked Chicken Breast
Finding the right way to cook a baked chicken breast can sometimes feel like a challenge. Many people worry about the meat becoming dry or flavorless when it comes out of the oven. However, when you use the right techniques, a baked chicken breast can be the star of your dinner table. It is lean, packed with protein, and incredibly versatile for various meals. This guide will show you exactly how to achieve juicy, tender results every single time without any fuss or complicated steps.
- Total Time: 35 minutes
- Yield: 2 servings 1x
Ingredients
- 2 boneless, skinless chicken breasts (about 6–8 oz each)
- 1 tablespoon olive oil
- 1 teaspoon salt
- 1/2 teaspoon black pepper
- 1/2 teaspoon garlic powder
- 1/4 teaspoon paprika
Instructions
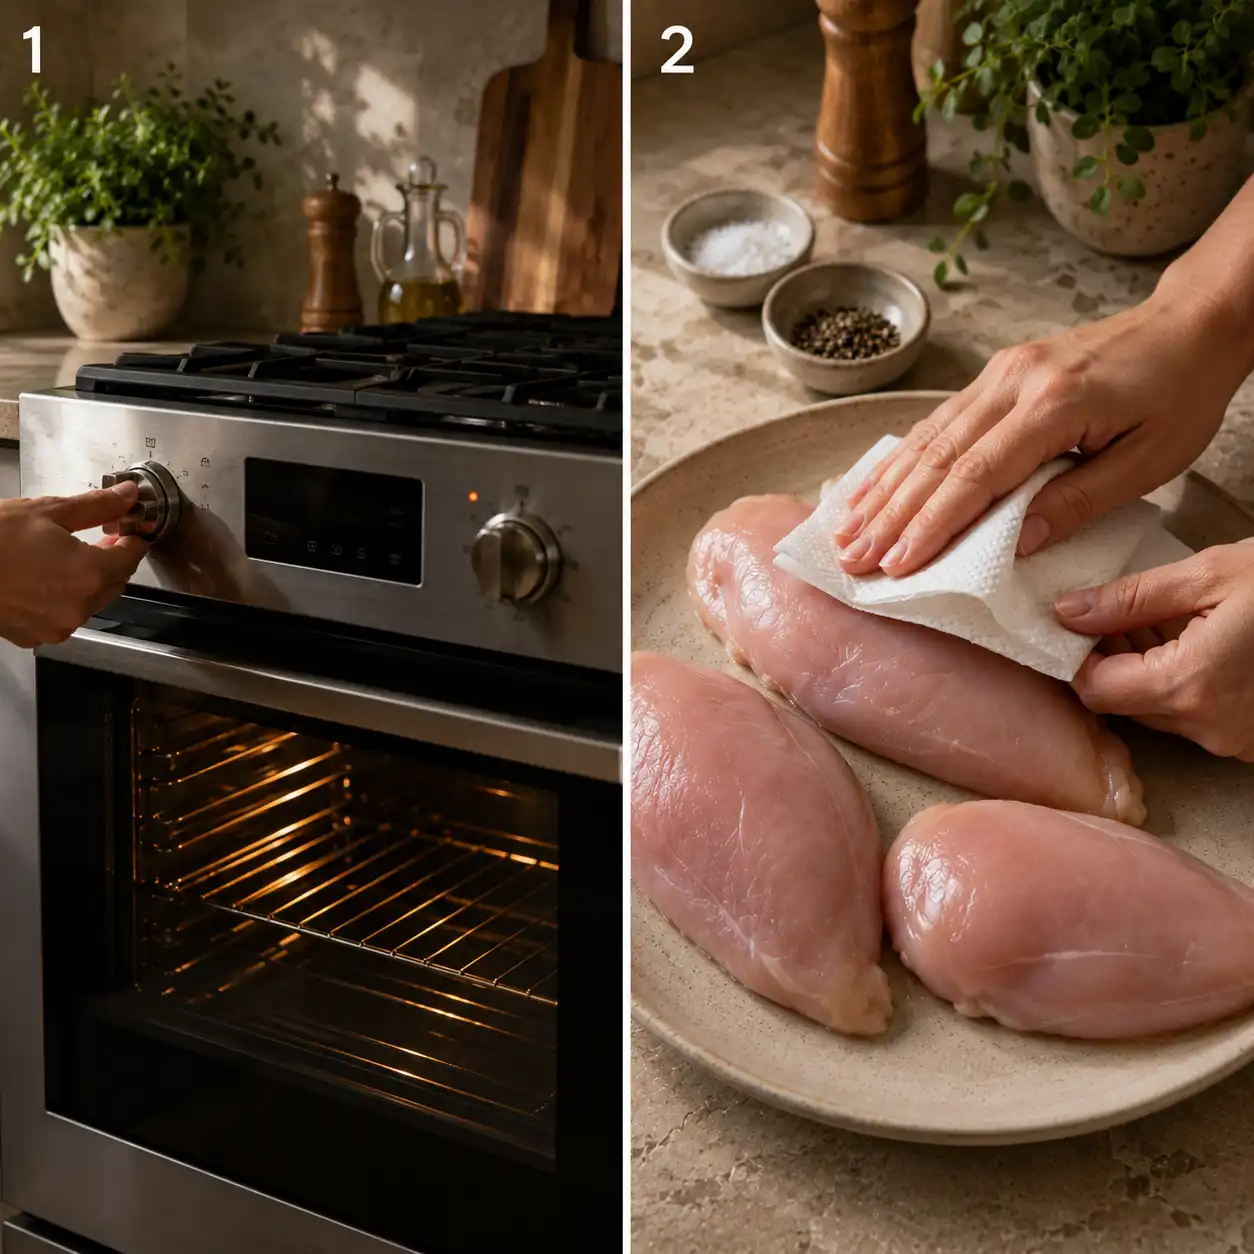
- Step 1: Preheat Oven – Preheat your oven to 400°F (200°C).
- Step 2: Prepare Chicken – Pat chicken breasts dry with paper towels. Drizzle with olive oil and rub to coat evenly.
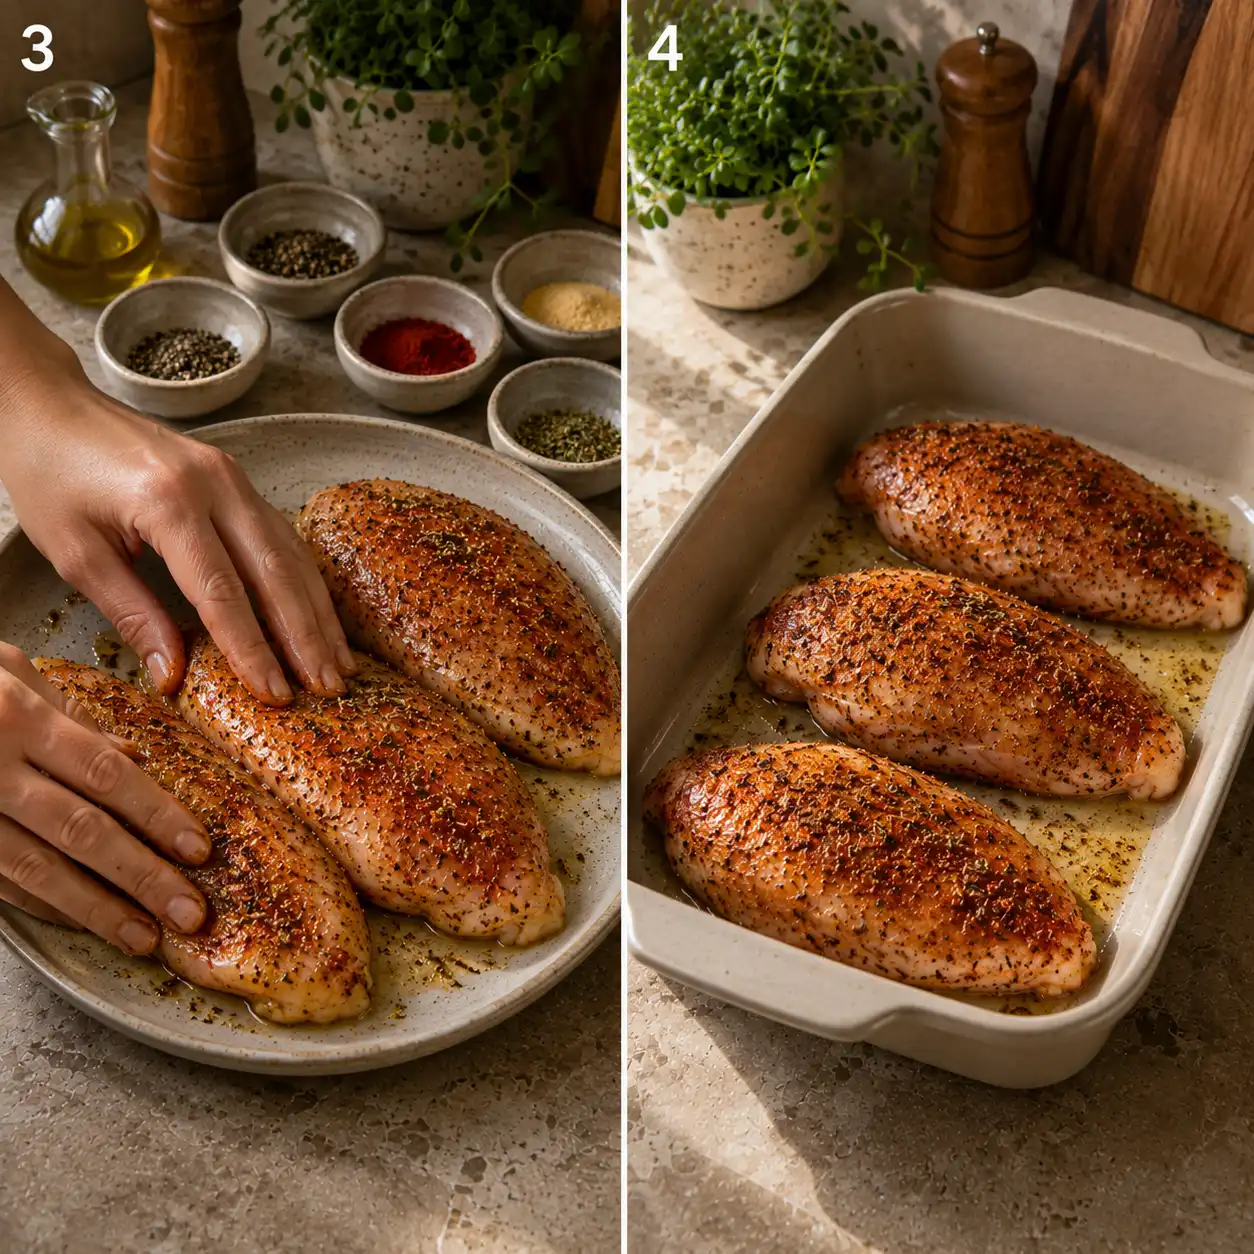
- Step 3: Season Meat – Season generously with salt, black pepper, garlic powder, and paprika on both sides.
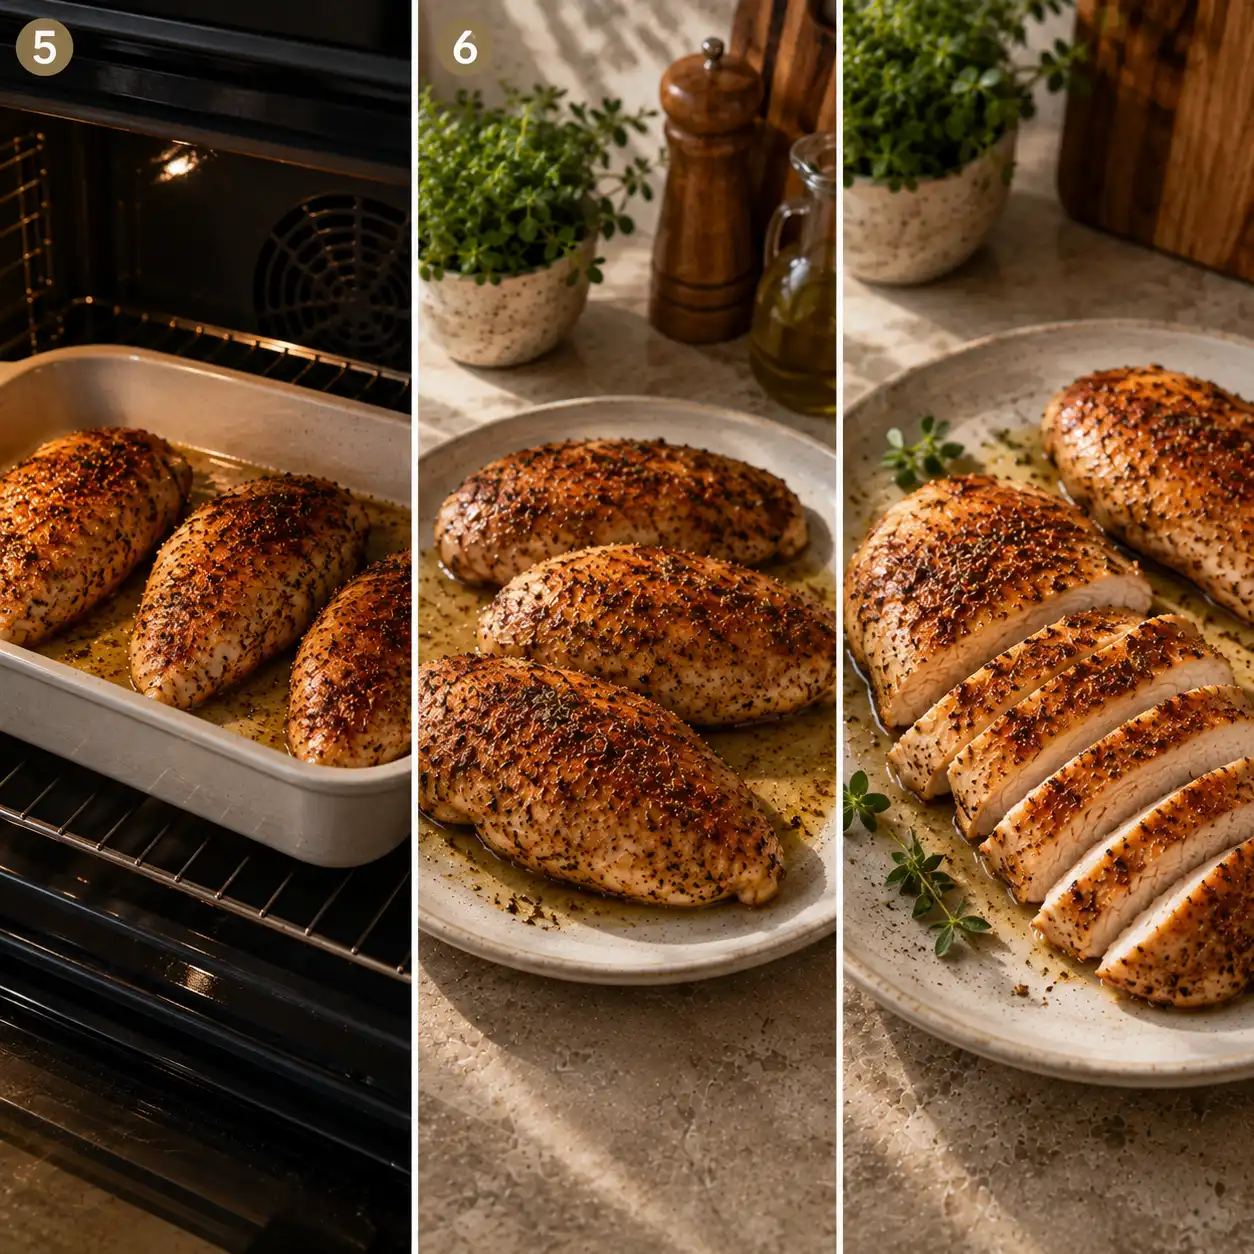
- Step 4: Bake Chicken – Place seasoned chicken breasts in a baking dish. Bake for 20-25 minutes, or until an internal temperature of 165°F (74°C) is reached in the thickest part.
- Step 5: Rest and Serve – Remove from oven, cover loosely with foil, and let rest for 5-10 minutes before slicing and serving. Resting helps to keep the chicken juicy.
Notes
Baked chicken breast is lean, packed with protein, and incredibly versatile. It’s a high-quality source of protein with very little fat, making it ideal for those watching calorie intake or focusing on high-protein, low-carb meals. It cooks relatively quickly, perfect for busy weeknights, and can be used as a base for salads, wraps, or main courses. Always use a meat thermometer to ensure proper doneness.
- Prep Time: 10 minutes
- Cook Time: 25 minutes
- Category: Main Course
- Method: Baking
- Cuisine: American
- Diet: High-Protein, Low-Carb, Heart-Healthy
Nutrition
- Serving Size: 1 chicken breast (approx. 6 oz / 170g)
- Calories: 320 kcal
- Sugar: 0.5 g
- Sodium: 350 mg
- Fat: 8 g
- Saturated Fat: 2 g
- Unsaturated Fat: 6 g
- Trans Fat: 0.1 g
- Carbohydrates: 1 g
- Fiber: 0.5 g
- Protein: 52 g
- Cholesterol: 120 mg
Keywords: Baked Chicken Breast, Chicken, Protein, Healthy, Quick Dinner, Lean, Versatile, Juicy Chicken, High-Protein, Low-Carb
Choosing the Best Ingredients for Your Baked Chicken Breast
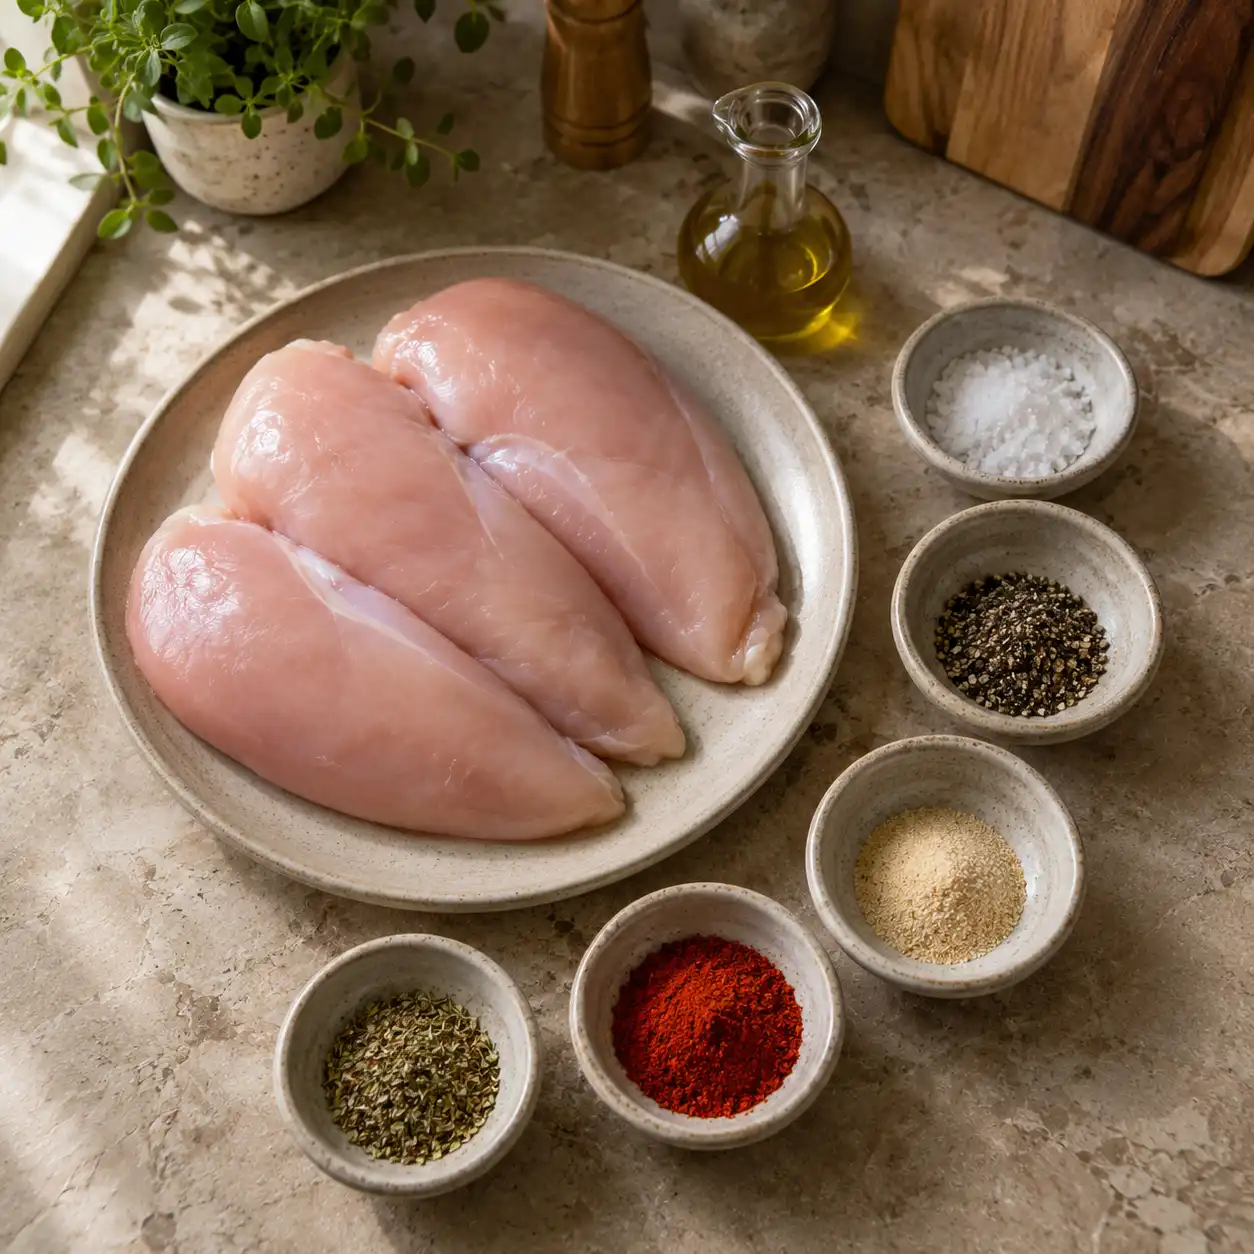
The quality of your baked chicken breast starts at the grocery store. Look for meat that is pink and plump, avoiding any pieces that look gray or have excess liquid in the packaging. While frozen options work in a pinch, fresh meat usually yields a better texture. If you use frozen pieces, make sure they are completely thawed before they head into the oven. This helps the heat distribute evenly so the outside doesn’t overcook while the inside stays raw.
The Importance of Even Thickness
The chicken breast is a unique cut of meat because it is naturally tapered, being thick at one end and thin at the other. This shape often leads to the thin part drying out before the thick part is safe to eat. To fix this, you can gently pound the meat with a mallet or a heavy pan until it has a uniform thickness. This simple trick makes a huge difference in how your baked chicken breast turns out, as every bite will be cooked to the same degree of perfection.
Fat and Seasoning Selection
Since this cut is lean, you need a little bit of fat to help the seasonings stick and to keep the surface from drying out. Olive oil or melted butter are excellent choices. Rubbing a small amount over the entire baked chicken breast creates a barrier that locks in moisture. For seasonings, consider a mix of garlic powder, onion powder, paprika, and dried herbs like oregano or thyme. Avoiding pig-based fats or heavy oils keeps the dish light and allows the natural flavor of the poultry to shine through.
How to Prepare Your Baked Chicken Breast
Preparation is the most important part of the process. If you just throw the meat in the oven, you might end up with a rubbery texture. Taking five extra minutes to prep the meat will change your results. Start by patting the meat dry with paper towels. Removing excess moisture allows the oil and spices to coat the meat better and helps the outside get a nice, light golden color rather than just steaming in its own juices.
To Brine or Not to Brine?
If you have extra time, soaking your meat in a simple salt-water brine for 15 to 30 minutes can work wonders. Brining changes the cell structure of the meat, allowing it to hold onto more water during the cooking process. This means your baked chicken breast stays juicy even if you accidentally leave it in the oven for a minute too long. If you are in a rush, a heavy “dry brine” of salt and spices applied right before cooking still helps significantly with flavor and moisture retention.
Using the Right Baking Dish
Choose a baking dish or a rimmed baking sheet that fits the meat comfortably without crowding. If the pieces are too close together, they will steam each other, and you won’t get that slightly roasted exterior. On the other hand, a dish that is too large might cause the juices to spread out and evaporate too quickly. A medium-sized glass dish or a standard metal sheet pan lined with parchment paper works perfectly for a standard baked chicken breast recipe.
Step-by-Step Instructions for Baked Chicken Breast
- Step 1: Prep the Oven – Preheat your oven to 400°F (200°C). A higher temperature helps cook the meat quickly, which prevents the moisture from escaping over a long period.
- Step 2: Dry the Meat – Use paper towels to pat each baked chicken breast dry on both sides. This is a vital step for getting the spices to stay in place.
- Step 3: Level the Thickness – Place the meat under a piece of plastic wrap and use a heavy object to pound the thicker parts until the entire piece is roughly the same height.
- Step 4: Season Thoroughly – Rub each piece with olive oil, then coat generously with your chosen spice blend. Make sure to cover the sides and bottom as well.
- Step 5: Arrange and Bake – Place the meat in your prepared dish. Bake for 18 to 22 minutes, depending on the size of the pieces. The internal temperature should reach 165°F (74°C).
- Step 6: The Rest Period – Remove the pan from the oven and cover it loosely with foil. Let the baked chicken breast rest for at least 5 to 10 minutes before slicing. This allows the juices to redistribute.
Cooking Times and Temperature Guide
Timing is everything when it comes to poultry. Because every oven is a little different, it is wise to use a meat thermometer rather than relying solely on the clock. Small breasts may only take 15 minutes, while very large ones can take up to 25 minutes. Below is a general guide to help you plan your meal around the size of your meat.
| Weight of Breast | Oven Temperature | Estimated Time | Target Internal Temp |
|---|---|---|---|
| 5-6 ounces | 400°F | 15-18 minutes | 165°F |
| 7-8 ounces | 400°F | 18-22 minutes | 165°F |
| 9-10 ounces | 400°F | 22-25 minutes | 165°F |
| Frozen (Thawed) | 400°F | 20-25 minutes | 165°F |
Flavor Profiles to Try with Baked Chicken Breast
You don’t have to stick to the same basic seasonings every time. Changing the flavor profile makes it easy to keep your meal plan exciting. For a fresh and vibrant taste, try a lemon-herb combination with fresh parsley and minced garlic. If you want something with a bit of a kick, a blend of chili powder, cumin, and lime juice creates a fantastic base for tacos or fajitas. The mild nature of the meat makes it the perfect carrier for your favorite herbs and spices.
The Mediterranean Approach
If you love bright, earthy flavors, try rubbing your meat with dried oregano, garlic, and a touch of lemon zest. This version of a baked chicken breast pairs beautifully with a fresh salad or roasted vegetables. If you are looking for side dish inspiration, many people find that zucchini recipes offer a light and healthy accompaniment that doesn’t overpower the meat. A quick sauté of summer squash with a bit of garlic is all you need to complete the plate.
Low-Carb Meal Pairing
For those who are following a specific dietary plan, pairing your protein with a low-carb side is a great strategy. Since the baked chicken breast is naturally low in carbohydrates, you can keep the entire meal compliant by choosing the right grains or vegetable substitutes. You might wonder, is cauliflower rice good for you? It certainly is, and its neutral flavor makes it a fantastic bed for sliced chicken and a drizzle of pan juices.
The Secret of Resting the Meat
The most common mistake people make is cutting into their baked chicken breast the moment it comes out of the oven. While it is tempting to eat right away, patience pays off. When meat cooks, the muscle fibers tighten and push the juices toward the center. If you cut it immediately, all those juices will run out onto the cutting board, leaving the meat dry. By letting it rest under a tent of foil, the fibers relax, and the moisture moves back through the whole piece, making every bite succulent.
How to Cover Properly
When you take the pan out, don’t wrap the foil too tightly. You want to create a little tent that traps the heat but allows a bit of steam to escape so the coating doesn’t get soggy. This short window of time is perfect for setting the table or finishing up a side dish. Once the five or ten minutes are up, you can slice the baked chicken breast against the grain for the most tender texture possible.
Using Leftover Baked Chicken Breast
If you have a busy week ahead, cooking several pieces of meat at once is a smart move. Cold, cooked chicken is incredibly useful for quick meals the next day. You can chop it up and mix it with a bit of Greek yogurt or mayonnaise for a fast lunch. A classic chicken salad recipe sandwich is much better when you start with high-quality, home-baked meat rather than canned versions.
Salads and Wraps
Sliced baked chicken breast is a perfect addition to a Caesar salad or a garden wrap. Because it is already seasoned and cooked, you can assemble a meal in minutes. It also holds up well when added to a bowl of warm pasta or a vegetable stir-fry. Just remember to add it at the very end of the cooking process so you are only warming it through; recooking it for too long will make it tough.
Common Mistakes to Avoid
Even with the best intentions, things can go wrong. One of the most frequent errors is overcooking the meat. Because it is so lean, there is no fat to protect it once it passes the safe temperature of 165°F. Another mistake is using a temperature that is too low. Cooking at 325°F or 350°F takes much longer, which gives the moisture more time to evaporate. Sticking to a higher heat for a shorter time is the best way to get that juicy finish.
Skipping the Oil
Some people try to skip the oil to save a few calories, but this often backfires. Without a thin layer of fat, the spices can’t stick properly, and the surface of the meat can become leathery. You only need a tablespoon for several pieces, which adds very little to the overall calorie count but adds a lot to the final quality of the baked chicken breast. Use a high-quality oil that can handle the heat of a 400-degree oven.
FAQs
How long does it take to bake chicken breast at 400°F?
Generally, it takes between 18 and 22 minutes for a standard-sized breast. However, this varies based on the thickness of the meat. Thinner or pounded pieces will cook faster, while very thick ones might need a few extra minutes. Always use a thermometer to confirm it has reached 165°F.
Should I cover the chicken with foil while it bakes?
It is usually better to bake it uncovered. This allows the heat to hit the meat directly, creating a better texture on the outside. If you notice the top is browning too quickly before the inside is done, you can lay a piece of foil over the top, but for a standard 20-minute bake, it is typically unnecessary.
Can I bake chicken breast from frozen?
While you can, it is not recommended for the best flavor and texture. Frozen meat releases a lot of water as it thaws in the oven, which can lead to steaming rather than roasting. For the juiciest results, thaw the meat in the refrigerator overnight before you plan to cook it.
How do I know the chicken is done without a thermometer?
You can check the juices. If you pierce the thickest part of the meat and the juices run clear, it is usually done. If the juices are pink, it needs more time. However, a meat thermometer is the only way to be 100% sure without cutting the meat open and letting the juices escape.
Conclusion
Mastering the baked chicken breast is a skill that will serve you well for years to come. By focusing on even thickness, high heat, and a proper resting period, you can transform a simple piece of poultry into a gourmet meal. Whether you enjoy it plain or as part of a complex dish, the techniques mentioned here make sure your meat is never dry or boring. It is a healthy, reliable, and delicious way to fuel your body and satisfy your taste buds every day of the week.
Disclaimer
The content provided on this website is for general informational and educational purposes only. It is not intended to replace professional medical advice, diagnosis, or treatment. I am not a licensed healthcare provider or certified nutrition expert.
Always seek guidance from a qualified medical professional before making any changes to your diet, especially if you have underlying health conditions, allergies, or specific dietary needs. Individual results may vary, and your health and safety should always come first.


1 thought on “Baked Chicken Breast: 5 Foolproof Tricks for Incredibly Juicy Chicken”